What to take?
Being a Sky Tour Guide at a resort in inky black skies is fantastic, but having some really good pictures of it would make it even better, wouldn’t it? Of course (I see your heads nodding)…
Well, being the astrophotographer that I am I decided to see what all of the stuff that I have could be assembled into a travel rig that was both capable but easy to get on a plane and into Africa.
Go Small or stay home
I’ve had this tiny refractor telescope for over two years and not really used it at all other than to test it on its current telescope mount when I went to the Winter Star Party in the Florida Keys last February.
The great things about tiny telescopes is they see a lot of sky at one time and since many of the great targets in the Southern Hemisphere are large in nature, this works out well! I’ve got a large format camera to stick on the back of it and with this rig I’ll be able to cover 7.5° by 5° of sky with each shot. How big is that? About the diameter of 15 full moons standing shoulder to shoulder!
I’m planning on shooting a mosaic (multiple panels) of the Milky Way extending away on both sides of glactic center), and a four-panel mosaic of the Large Magellanic Cloud; a satellite galaxy of the Milky Way, visible only from the Southern Hemishphere.
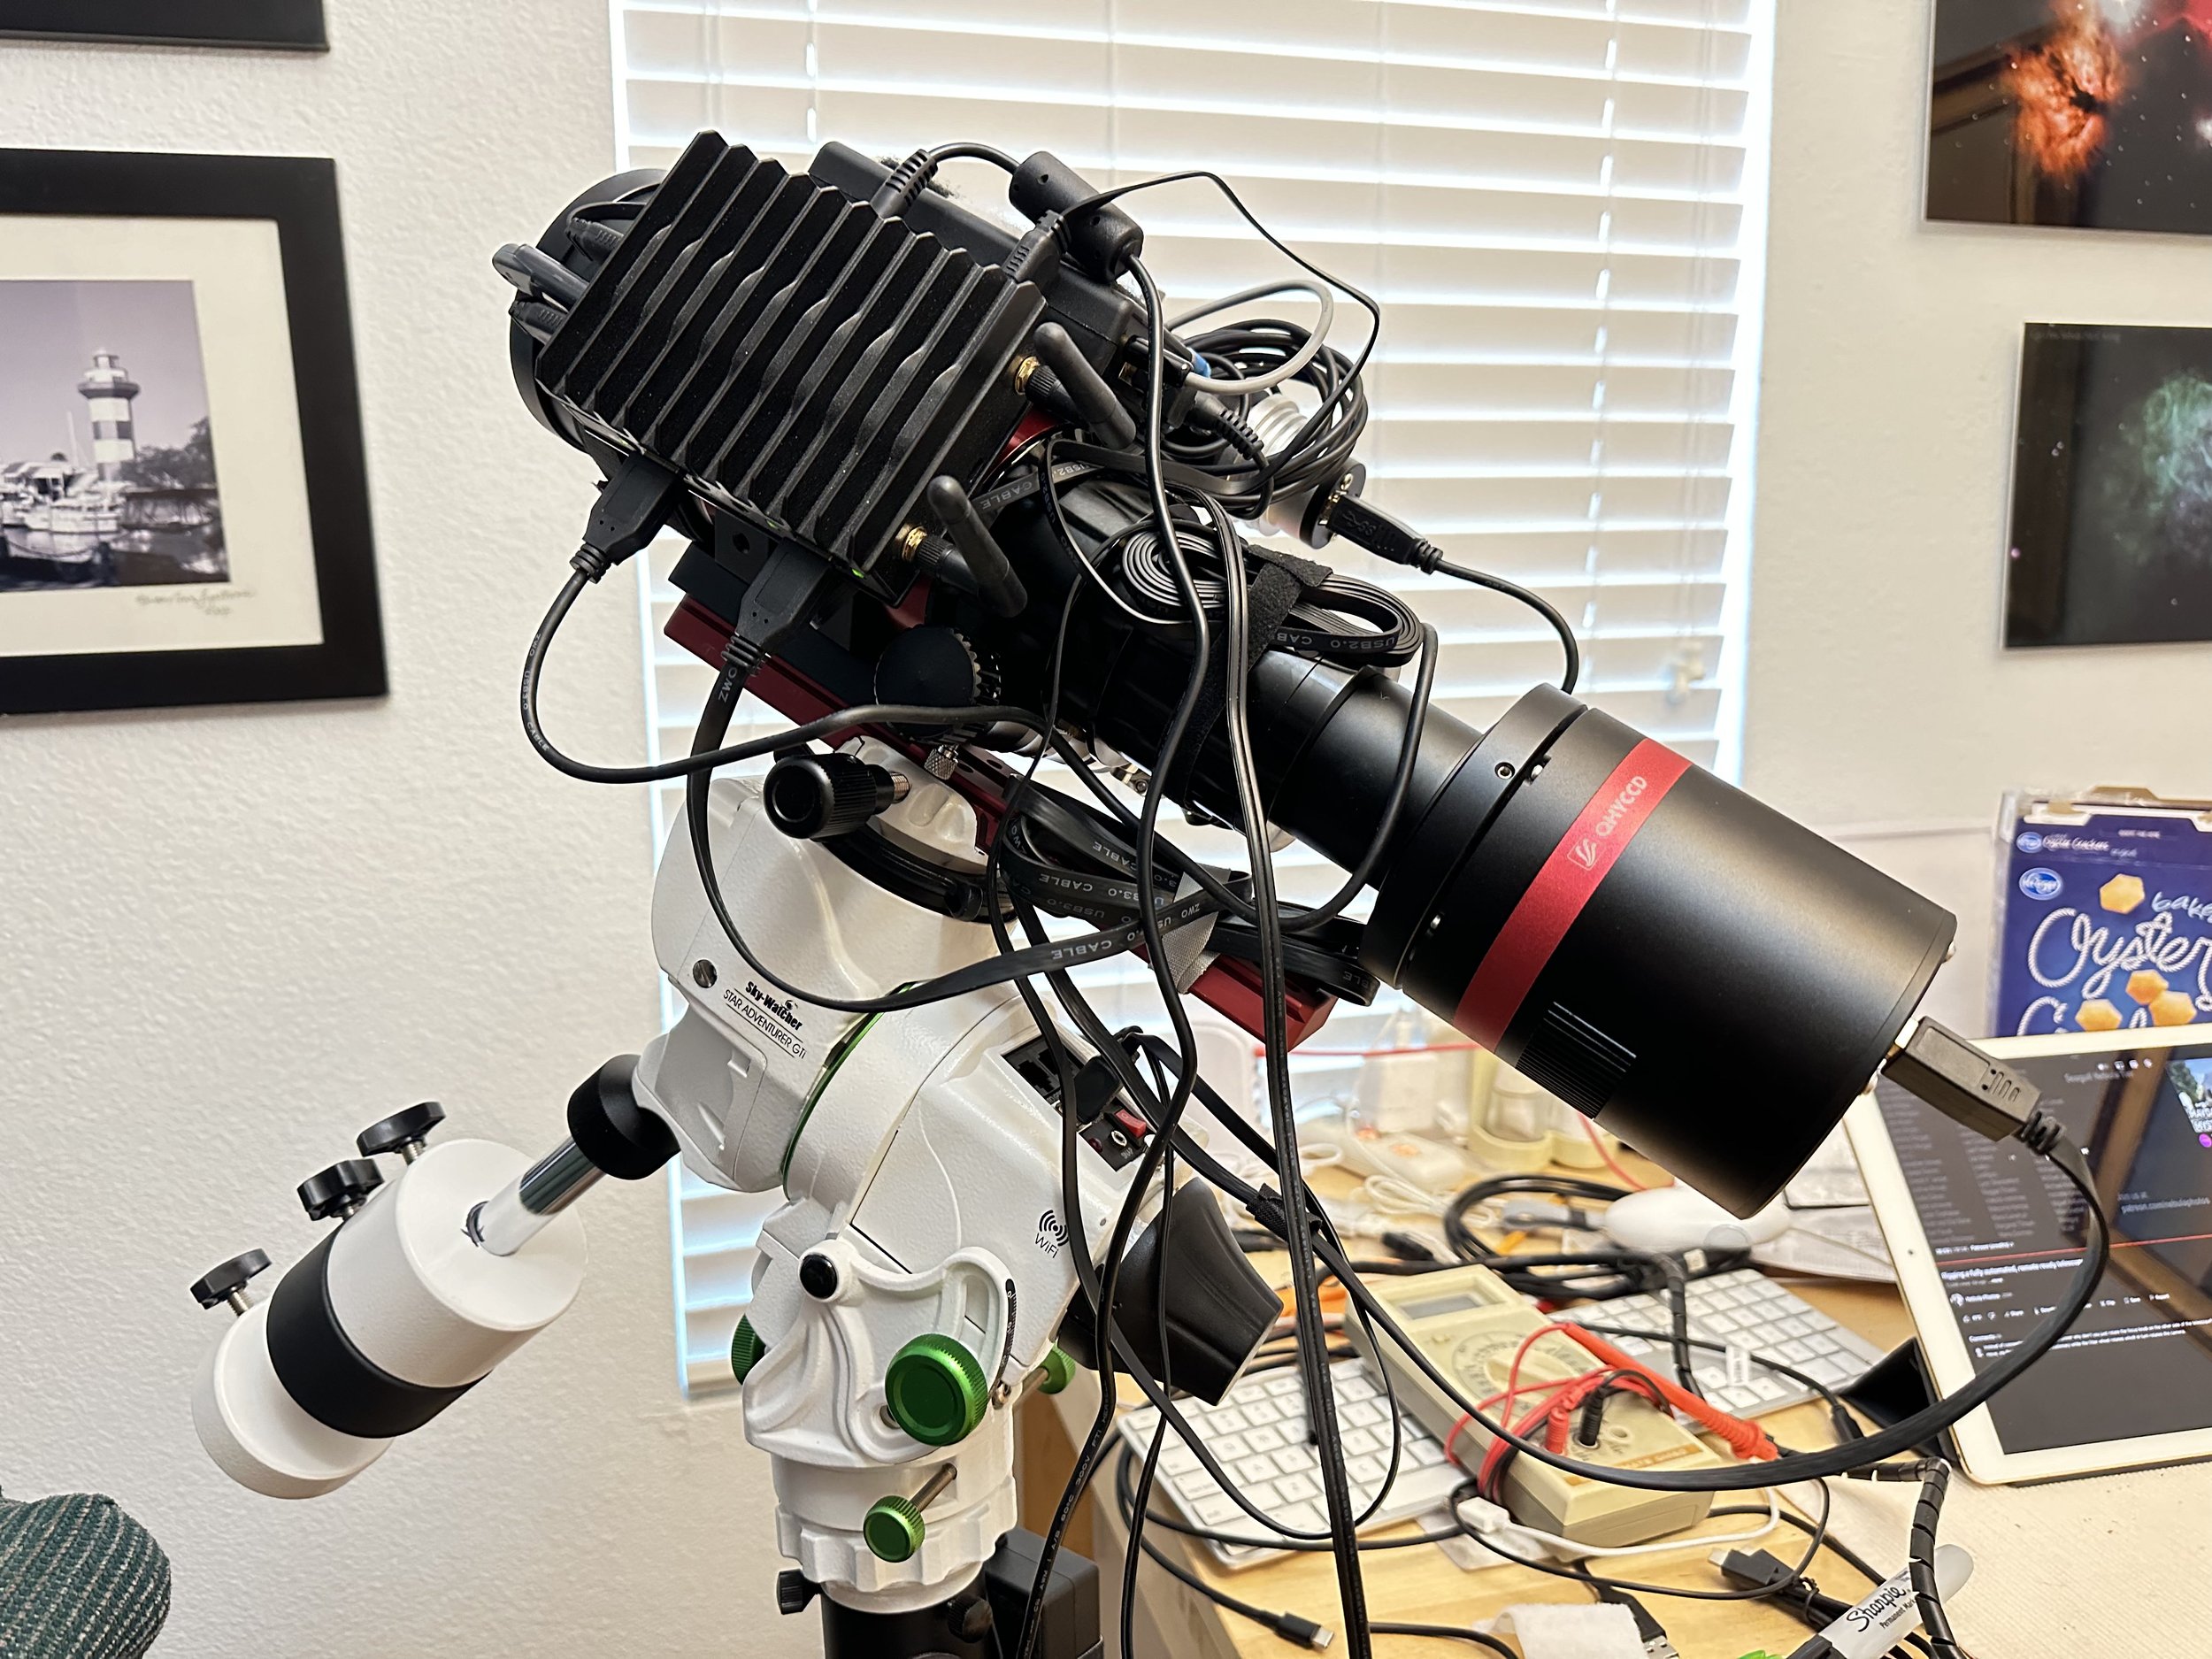
Radian 61 Telescope on a SkyWatcher GTi mount. Camera is a QHY 367 one-shot-color camera.
Yes there’s a scope under there
Even though this is small-scale, it is a very capable rig with all the things that you need to take long exposures for deep sky objects. A typical exposure for me is 4 minutes and you can take 40 or 50 of them and stack them together to get an aggregate exposure of a few hours or more.
Focus is a big deal of course so there’s a motor hooked up the focusing shaft that can move the focus of the scope wtih a precision you could never achieve with your fingers.
You need a computer to keep track of everything so that thing with the cooling fins is actually a mini-Windows PC that’s just bristling with USB ports to be able to control the camera, mount, focus motor, power box etc. The computer has inputs for keyboard/mouse and an output for a screen so I bought a small portable screen so you can see what you’re doing on the computer.
The last thing up there is the Pegasus Pocket Power Box which distributes the 12v DC around the rig (except for high-current items like the camera with it’s cooling system). It also has an environment sensor that reads temperature and humidity and can power anti-dew heater bands that keep the optical surfaces warm enough to not get dewed up. I don’t expect that I’ll have a problem with humidity in the desert, but who knows!
The thermometer function of the box is very important too in that as things get cooler as the night goes on, the telescope actually decreases in physical size enough to cause it to lose perfect focus so after every .8°C temp change, the master shooting software forces a refocus.
The data from the environment sensor is also copied into the header of each image so you can look back and see how temperature and focus are related.
The ‘Big’ Rig
This will be the main astropohotography rig that I’m taking. This SkyWatcher 100mm (4-inch) refractor is a great telescope for shooting photos of large objects in great detail; this rig can see about 4 degrees by 3 degrees. The short focal length of something like this (550mm) means that it’s easy for the mount to control and there’s a certain allowance for tracking error before things get too bad.
Mounted
I bought the new AM5 mount because it represents a big step forward in small size and weight but still has the ability to deftly control a hefty payload. It only weighs 12 pounds but it’ll hold 44, which is well over the total weight of this rig. It does this using a gearing system called “strain-wave” which has been around for a long time (I understand strain-wave gears were involved with the lunar rovers the astronauts drove back int he 1970s) but this idea is just making its way into telescope mounts since about 2023..
Esprit 100 scope, ZWO AM5 Mount, ZWO Filter Wheel, Pegasus Camera Rotator, ZWO Focus Motor, QHY 600 camera
The elements of this setup are essentially the same as the small rig, with a couple extras so I’ll detail those things.
I DO have a filter After All
The QHY 600 camera is a black and white (‘monochrome’) camera yet I’ll still be able to take color photos with it. How does that work? With the addition of a ‘filter wheel’. This particular wheel holds five filters and I have filled them with Red, Green, Blue, and Hydrogen. I left one blank because sometimes it’s good to be naked in the desert!
As you might be suspecting by now, to take a color photo with a monochrome camera you take a series of exposures with the Red filter in, then Green, then Blue. Stack all of them together into a master Red/Green/Blue and voila, you have a color photo!
Next I’ll take a fourth layer with the hydrogen/oxygen filter in (if it’s a nebula that glows on it’s own) and use that to add brightness and detail to the final image when it’s processed later in the computer.
Spin Zone
Also on this rig is a camera rotator module. This is a device that will rotate the camera (and filter wheel) around so you can have your object appear in the camera frame in the most beneficial, artistic orientation possible. It’s a simple device but because it’s also under computer control, can do many good things for you, such as coming back to a target a month later for more data and getting the camera back to the exact position it was when you took the first set.
As you can perhaps see, when you are shooting in monochrome, it’s rare to have an object you can finish in one night’s set of exposures. so repeatability is a huge bonus as things stretch over two, three or even four pic sessions.
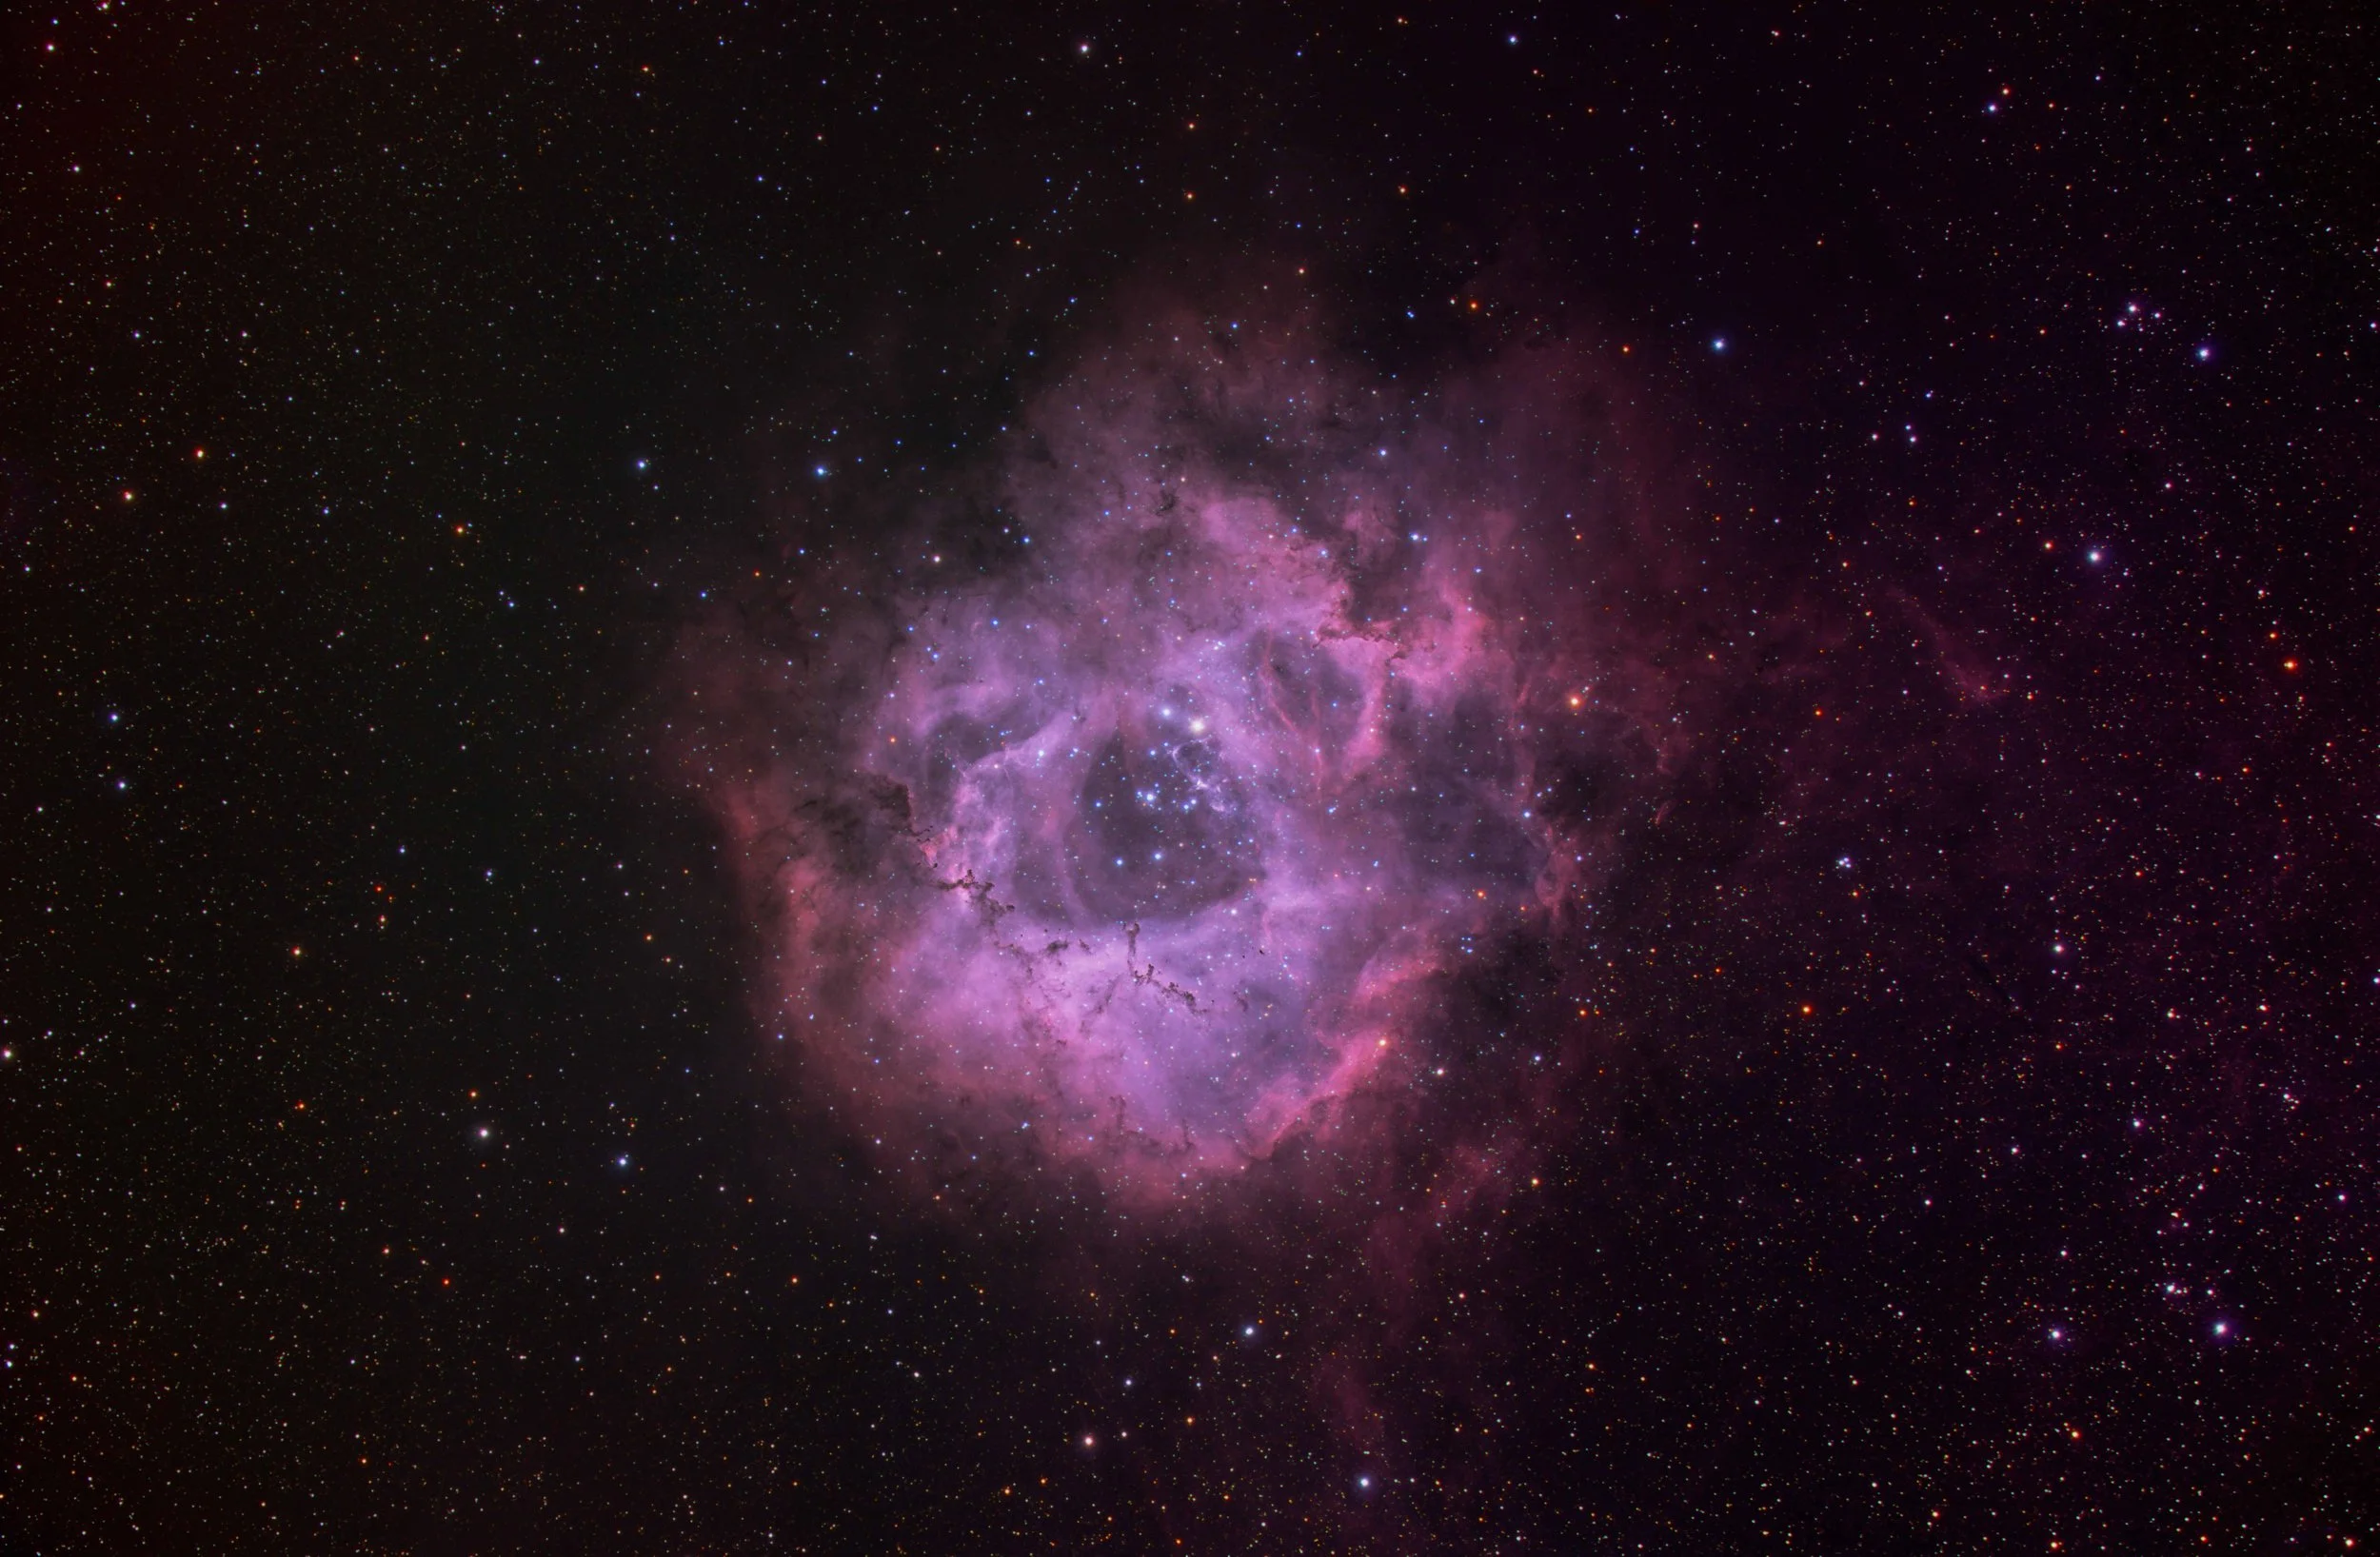
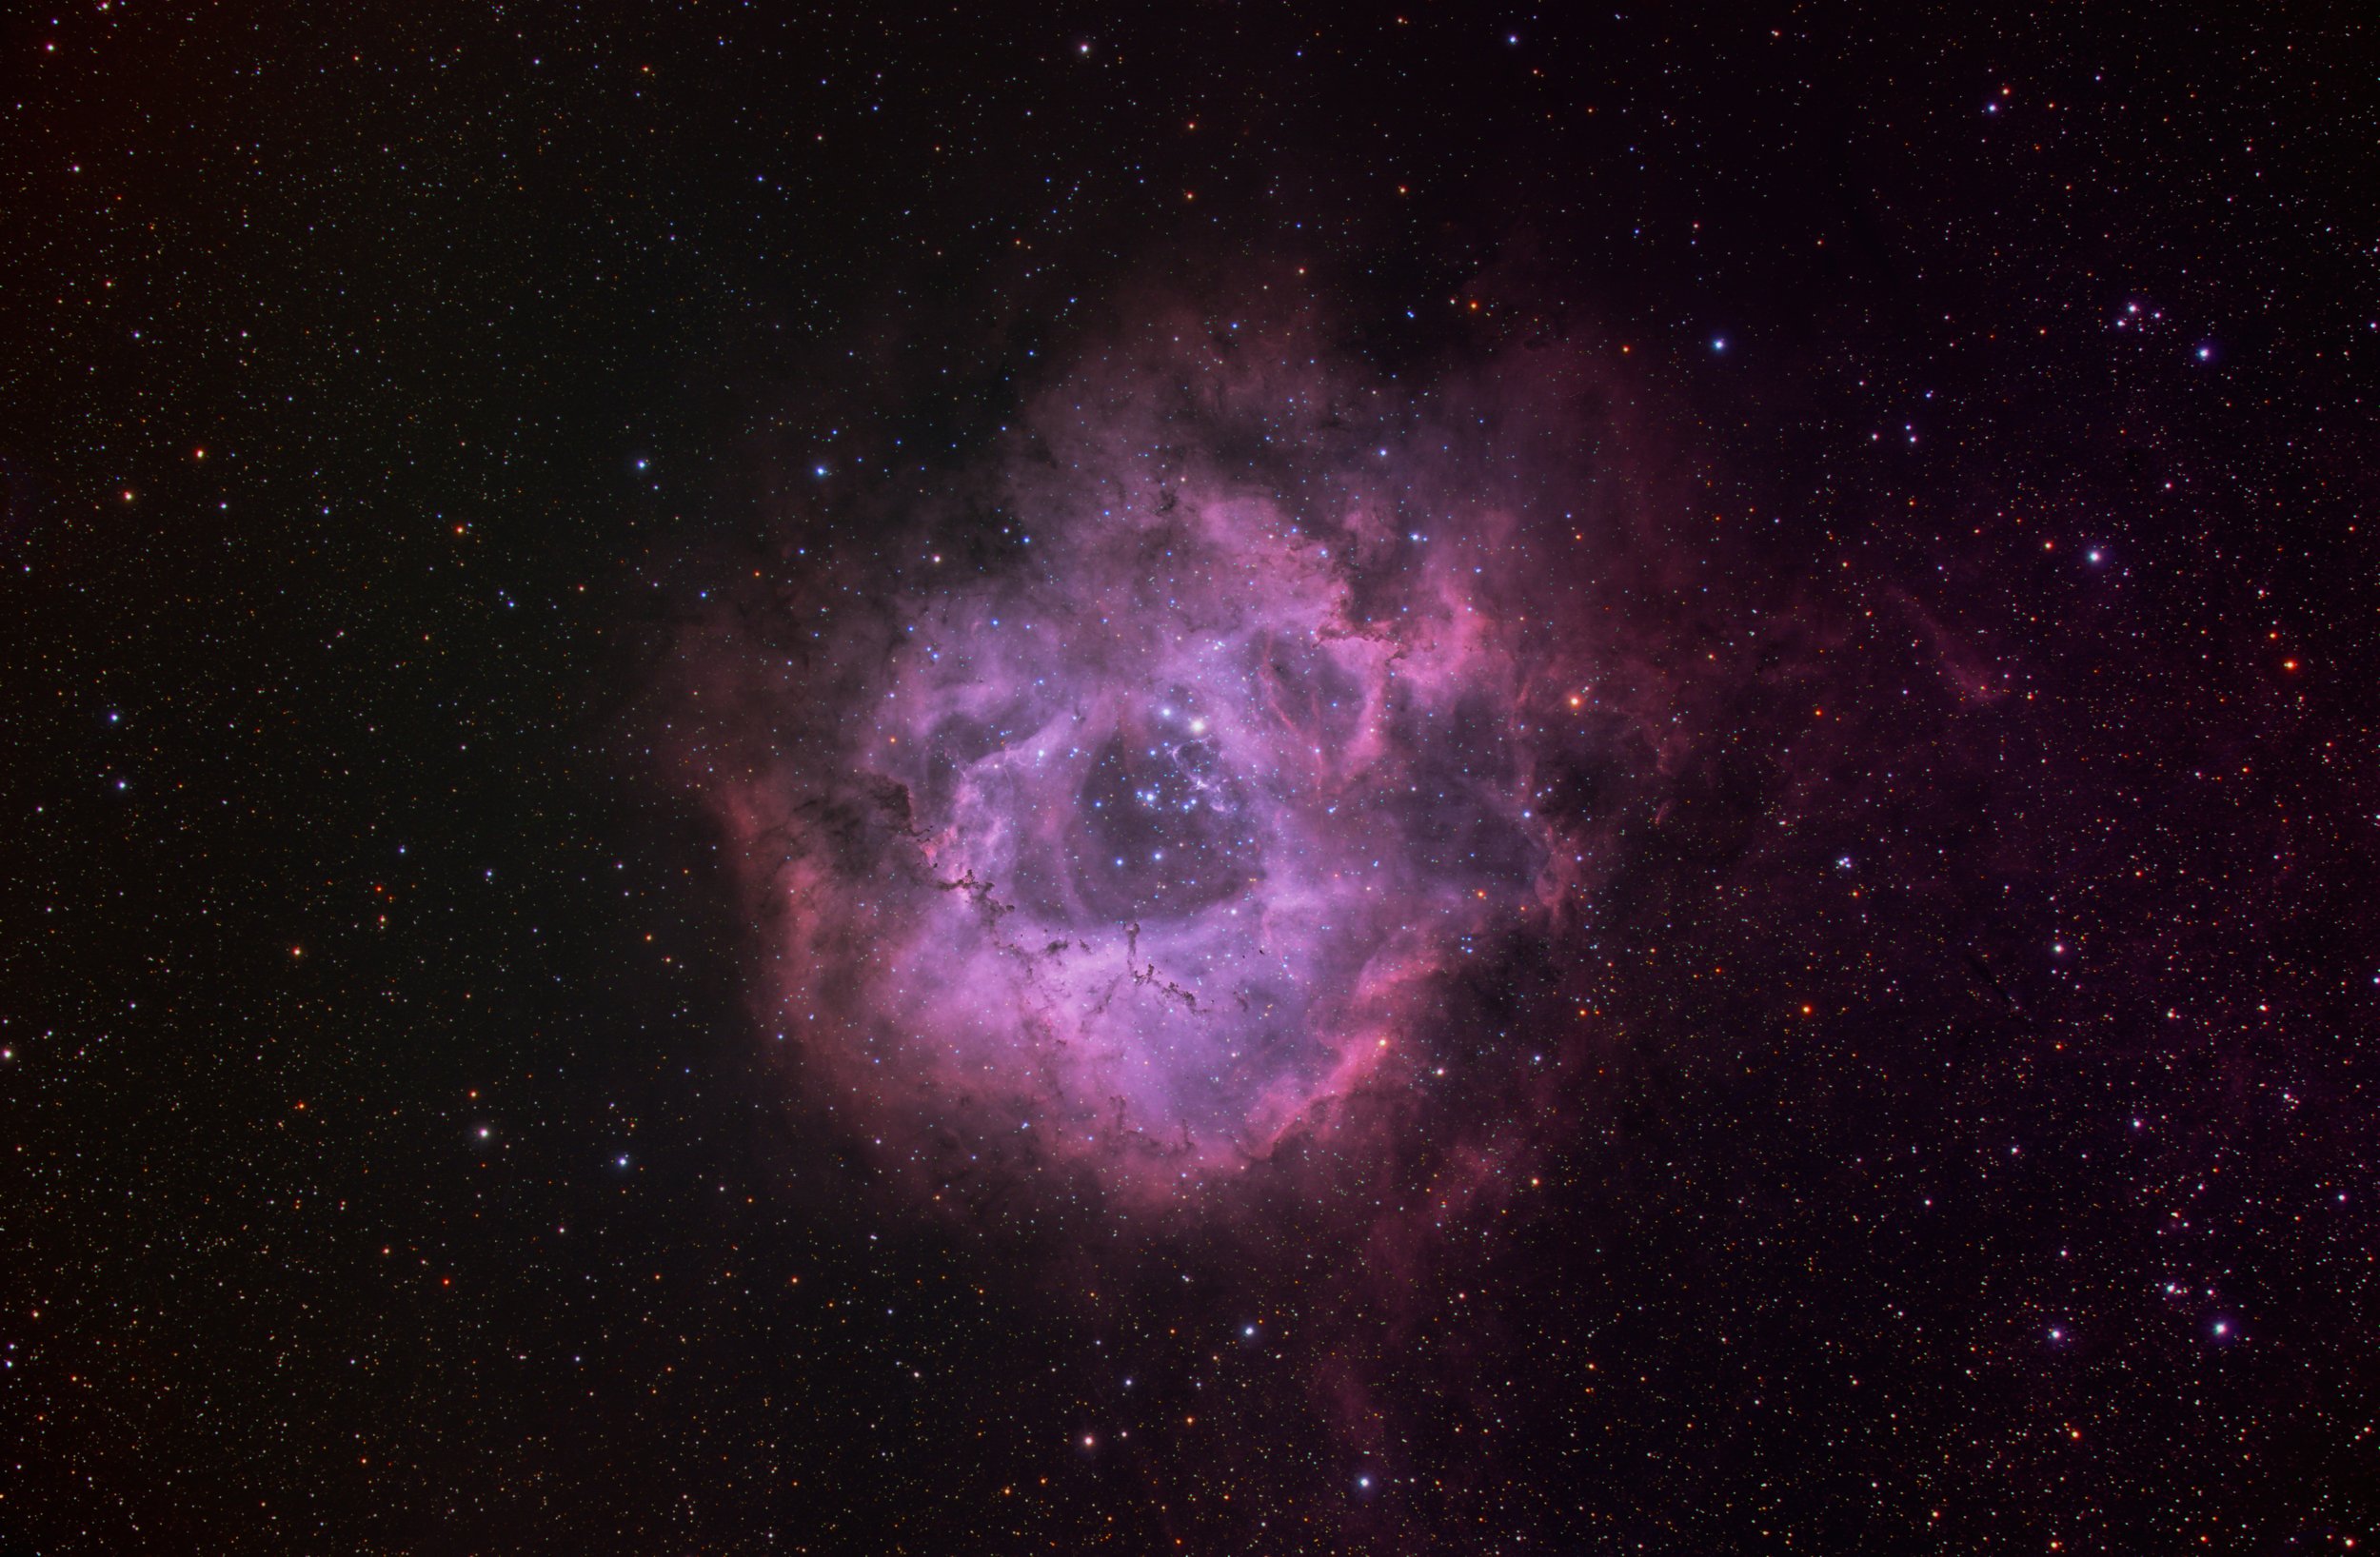
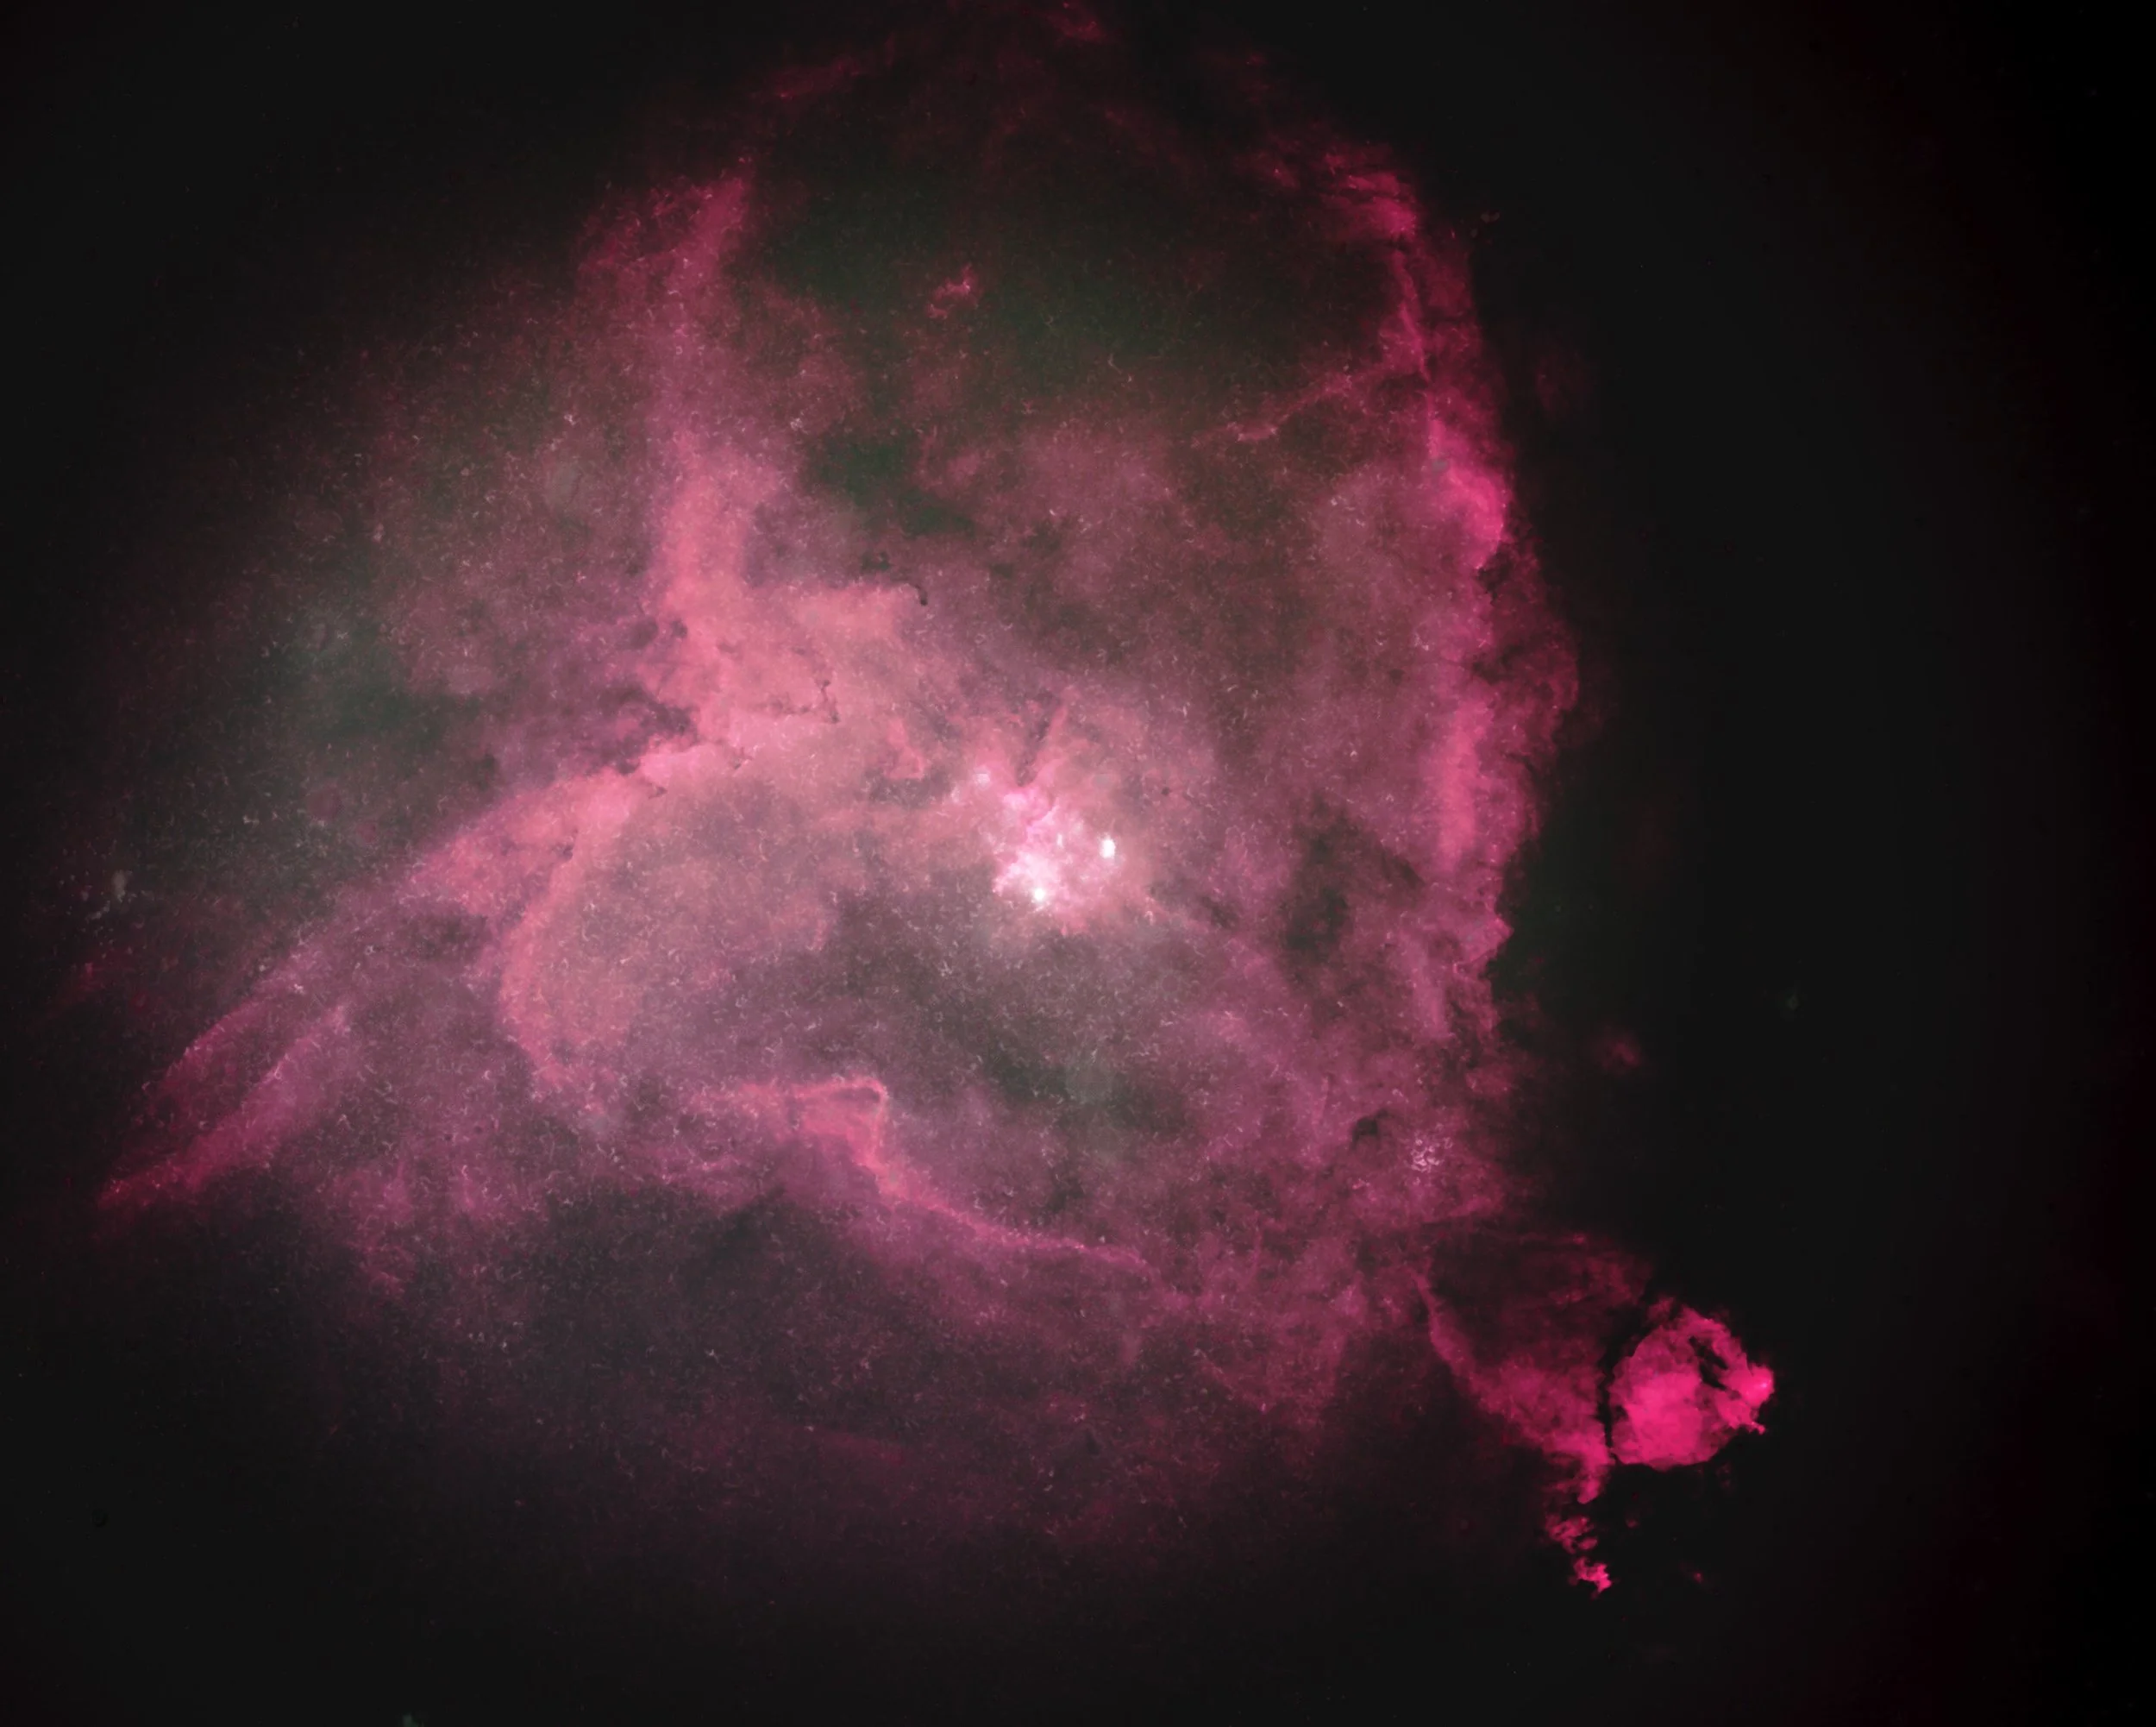
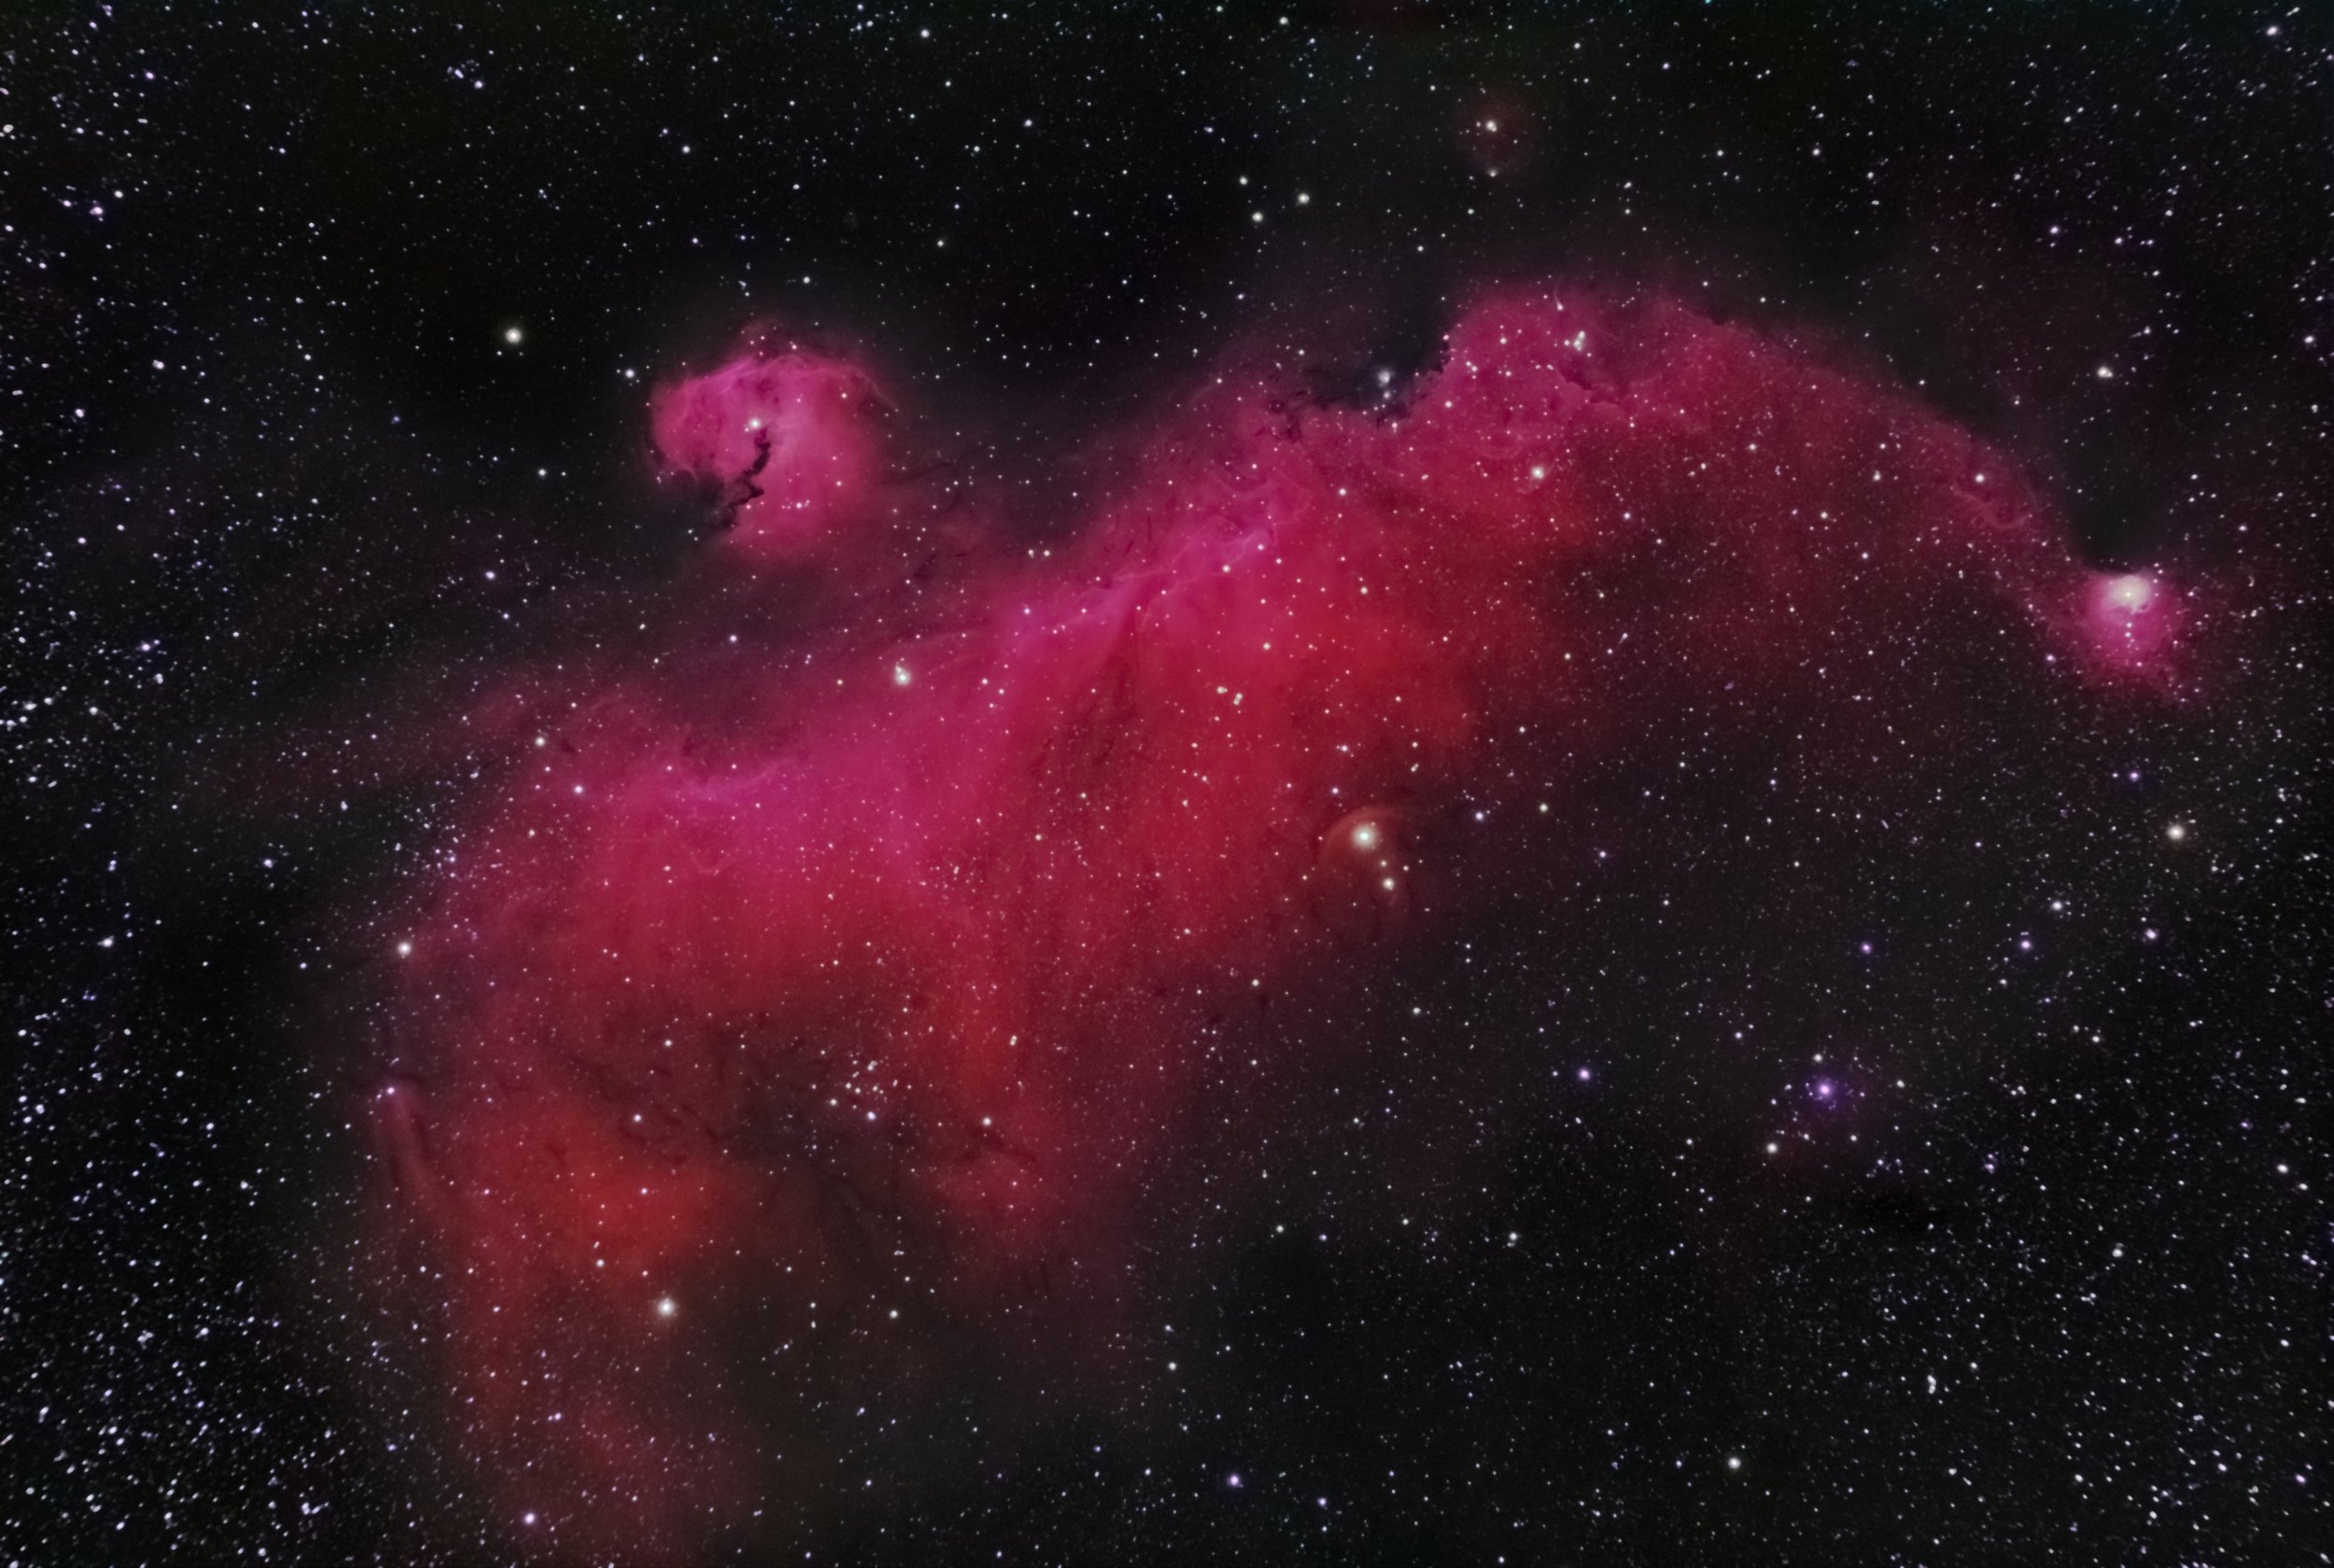
Here are a few images I’ve taken over the years using this scope:


Tightening things up
The photos of these rigs are still while they are on the “testing stand” so to speak. I’ve pretty much got everything working so the next step is to figure out ways to tidy up the cabling so as the mount/computer move the telescope through and around the sky you don’t get a cable snag or have some cable stressed because it’s too short when the scope is pointing at one extreme or another.
The final phase is to verify performance under an actual night sky, and then pack it up in a coherent way for travel to my final destination in Namibia. Thirteen days until the journey begins!
Carpe Noctem!
Bill Gwynne
June 6th, 2024

