New Gear for a New Year–2019
Well 2019 promises to be a very astronomical year for me. The public stargazes are finishing up their third complete year on Hilton Head and I’m seeing people a third and fourth time now and it’s always gratifying to hear something like, “It’s all my daughter has talked about since seeing Saturn last year!”
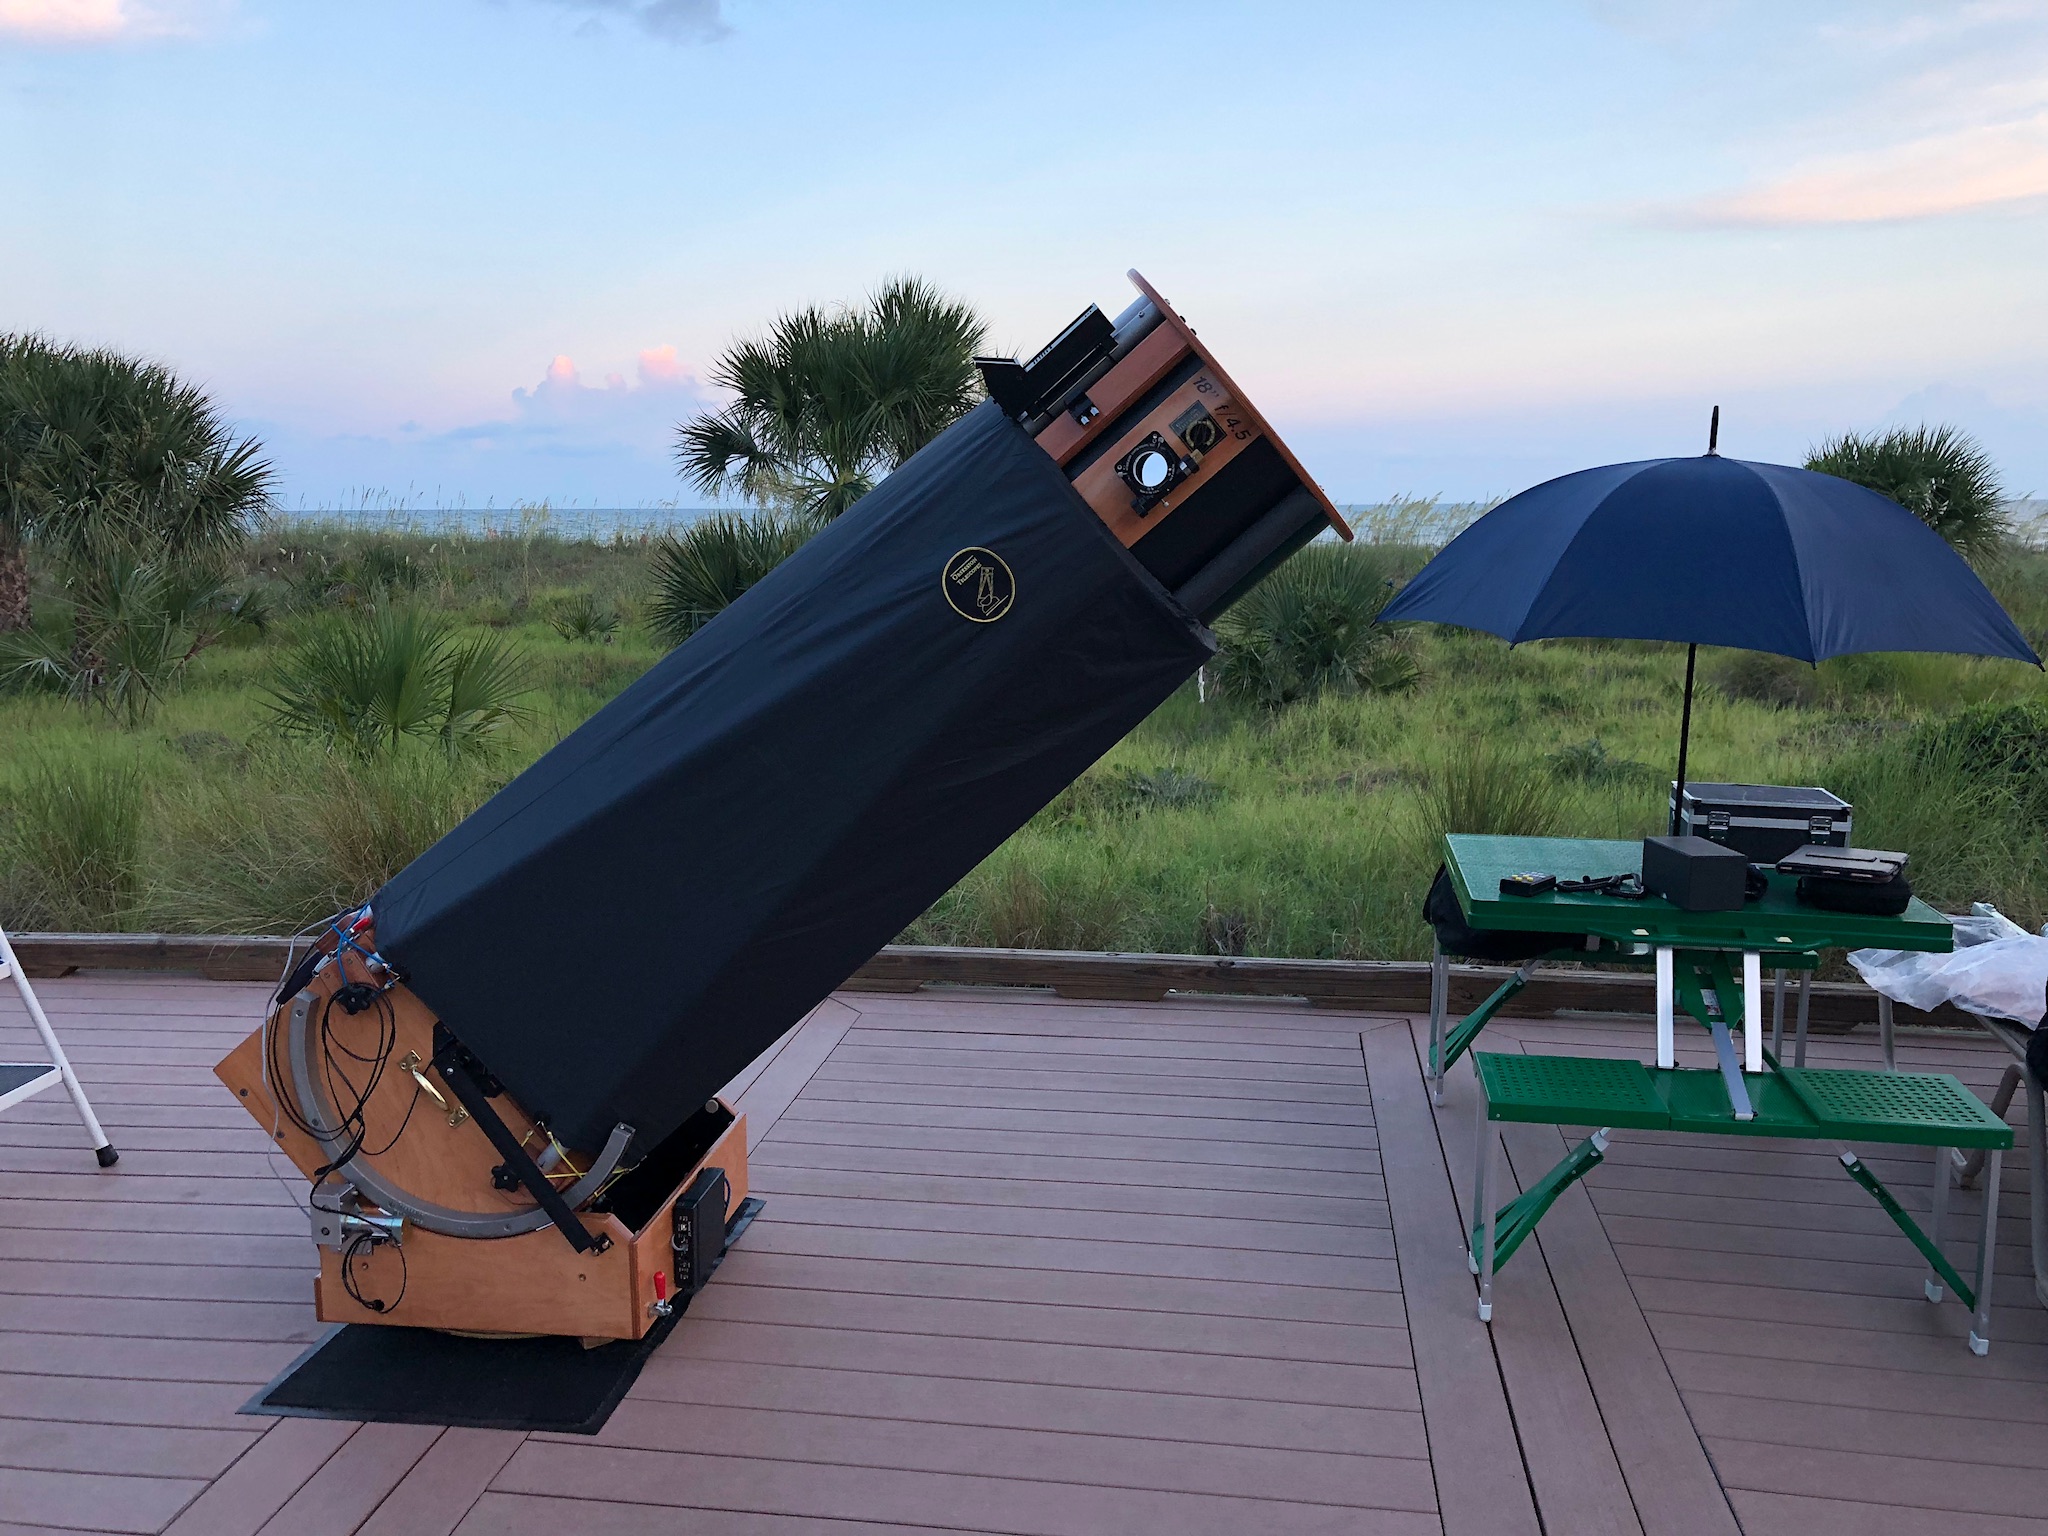
In an effort to give the best possible stargazes to people and to see some truly fine views of things that were unreachable with my old setup I replaced the 16” scope I bought in 2017 with an Obsession 18” Dobsonian scope that I found on a “Cloudy Nights” ad being sold by a guy in Tallahassee Florida, a half day’s drive away.
It’s a fantastic scope but there’s a problem, these giant “Dobs” don’t have GoTo pointing or sky tracking which is fine when you’re observing alone but at a public stargaze you need to find things quickly and keep them in the center of the field of view for people.
So I purchased an aftermarket motor guidance/location package called StellarCAT by Gary Meyers at RX Designs and it is more than just functional, it’s elegant! You can really tell that the software feature set was put together by astronomers, not software engineers; like a true spiral search for when you’re off a little in a high powered eyepiece but don’t know which way.
Problem was that StellarCAT was an “install it yourself” kind of affair unless you wanted to ship your scope which is almost impossible to pack sufficiently well to keep from getting damaged. Now I’m an “electronics and computers” kinda guy, not a “sawdust and drill” kinda guy so I knew that this would be right at the limit of my tool-working abilities but I figured that if I was methodical enough and had the right tools I could pull it off.
Rocker Box for the Obsession, this is where the majority of the work was done.
Well $300 worth of tools and a dozen calls to Gary for clarification/amplification of instructions later (and a week of eating standing at the kitchen counter ‘cause my entire kitchen table was overrun with this project) I had the holes drilled, wires run, and components mounted with no major mistakes it was time for ‘first light’ with the scope.
Well it works incredibly well and moves that big scope with a fantastic combination of agility and precision that truly warms a telescope geek’s heart!
I bring this scope to stargazes when we have no moon in the sky to really get the best views of galaxies and the full visual extent of the great nebulas in the Milky Way. The Great Orion Nebula is jaw-dropping with the Lumicon UHC filter. Views of the planets are both large and crisply detailed since a scope like this is nice and sharp all the way up to 300x.
But What About Those Photos…
The company that makes my astro camera (ZWO) also came out with a revolutionary product with something called the ASI-Air. It’s a box the size of a couple boxes of playing cards that has a 32GB card for storing your shots, 4 USB ports for your camera, guide camera, mount, filter wheel (if I had one) etc. It’s also WiFi so you control your camera, guide cam, and mount all from an iPad app, wirelessly.
The software will take your pictures including dark frames and other stuff, find objects and guide the mount, show you each photo via WiFi as they come in, do what’s known as ‘plate solving’ which is reconciling the picture in the camera against a sky map. this is extremely useful if you’re making a mosaic of a part of the sky larger than what will fit in your camera frame.
On my last picture taking session, once I had my polar alignment and telescope focus I sat in the front seat of my car instead of being out in the dew and wind babysitting a laptop on a table next to the scope. Best of all, this thing is only $175!!! Compared to what most good stuff in this arena costs, that’s pretty close to FREE in my book!
For whatever reason I’ve never been able to get the computer software that is supposed to guide your scope to work on the laptop I was using which was a big source of frustration, but for some reason the AIR just worked the first time out so finally I was able to turn on the Periodic Error Correction software for the mount since the auto-guider would provide a real good “training run” for it. Huge plus there too; I freaking love this thing!
New Scopes
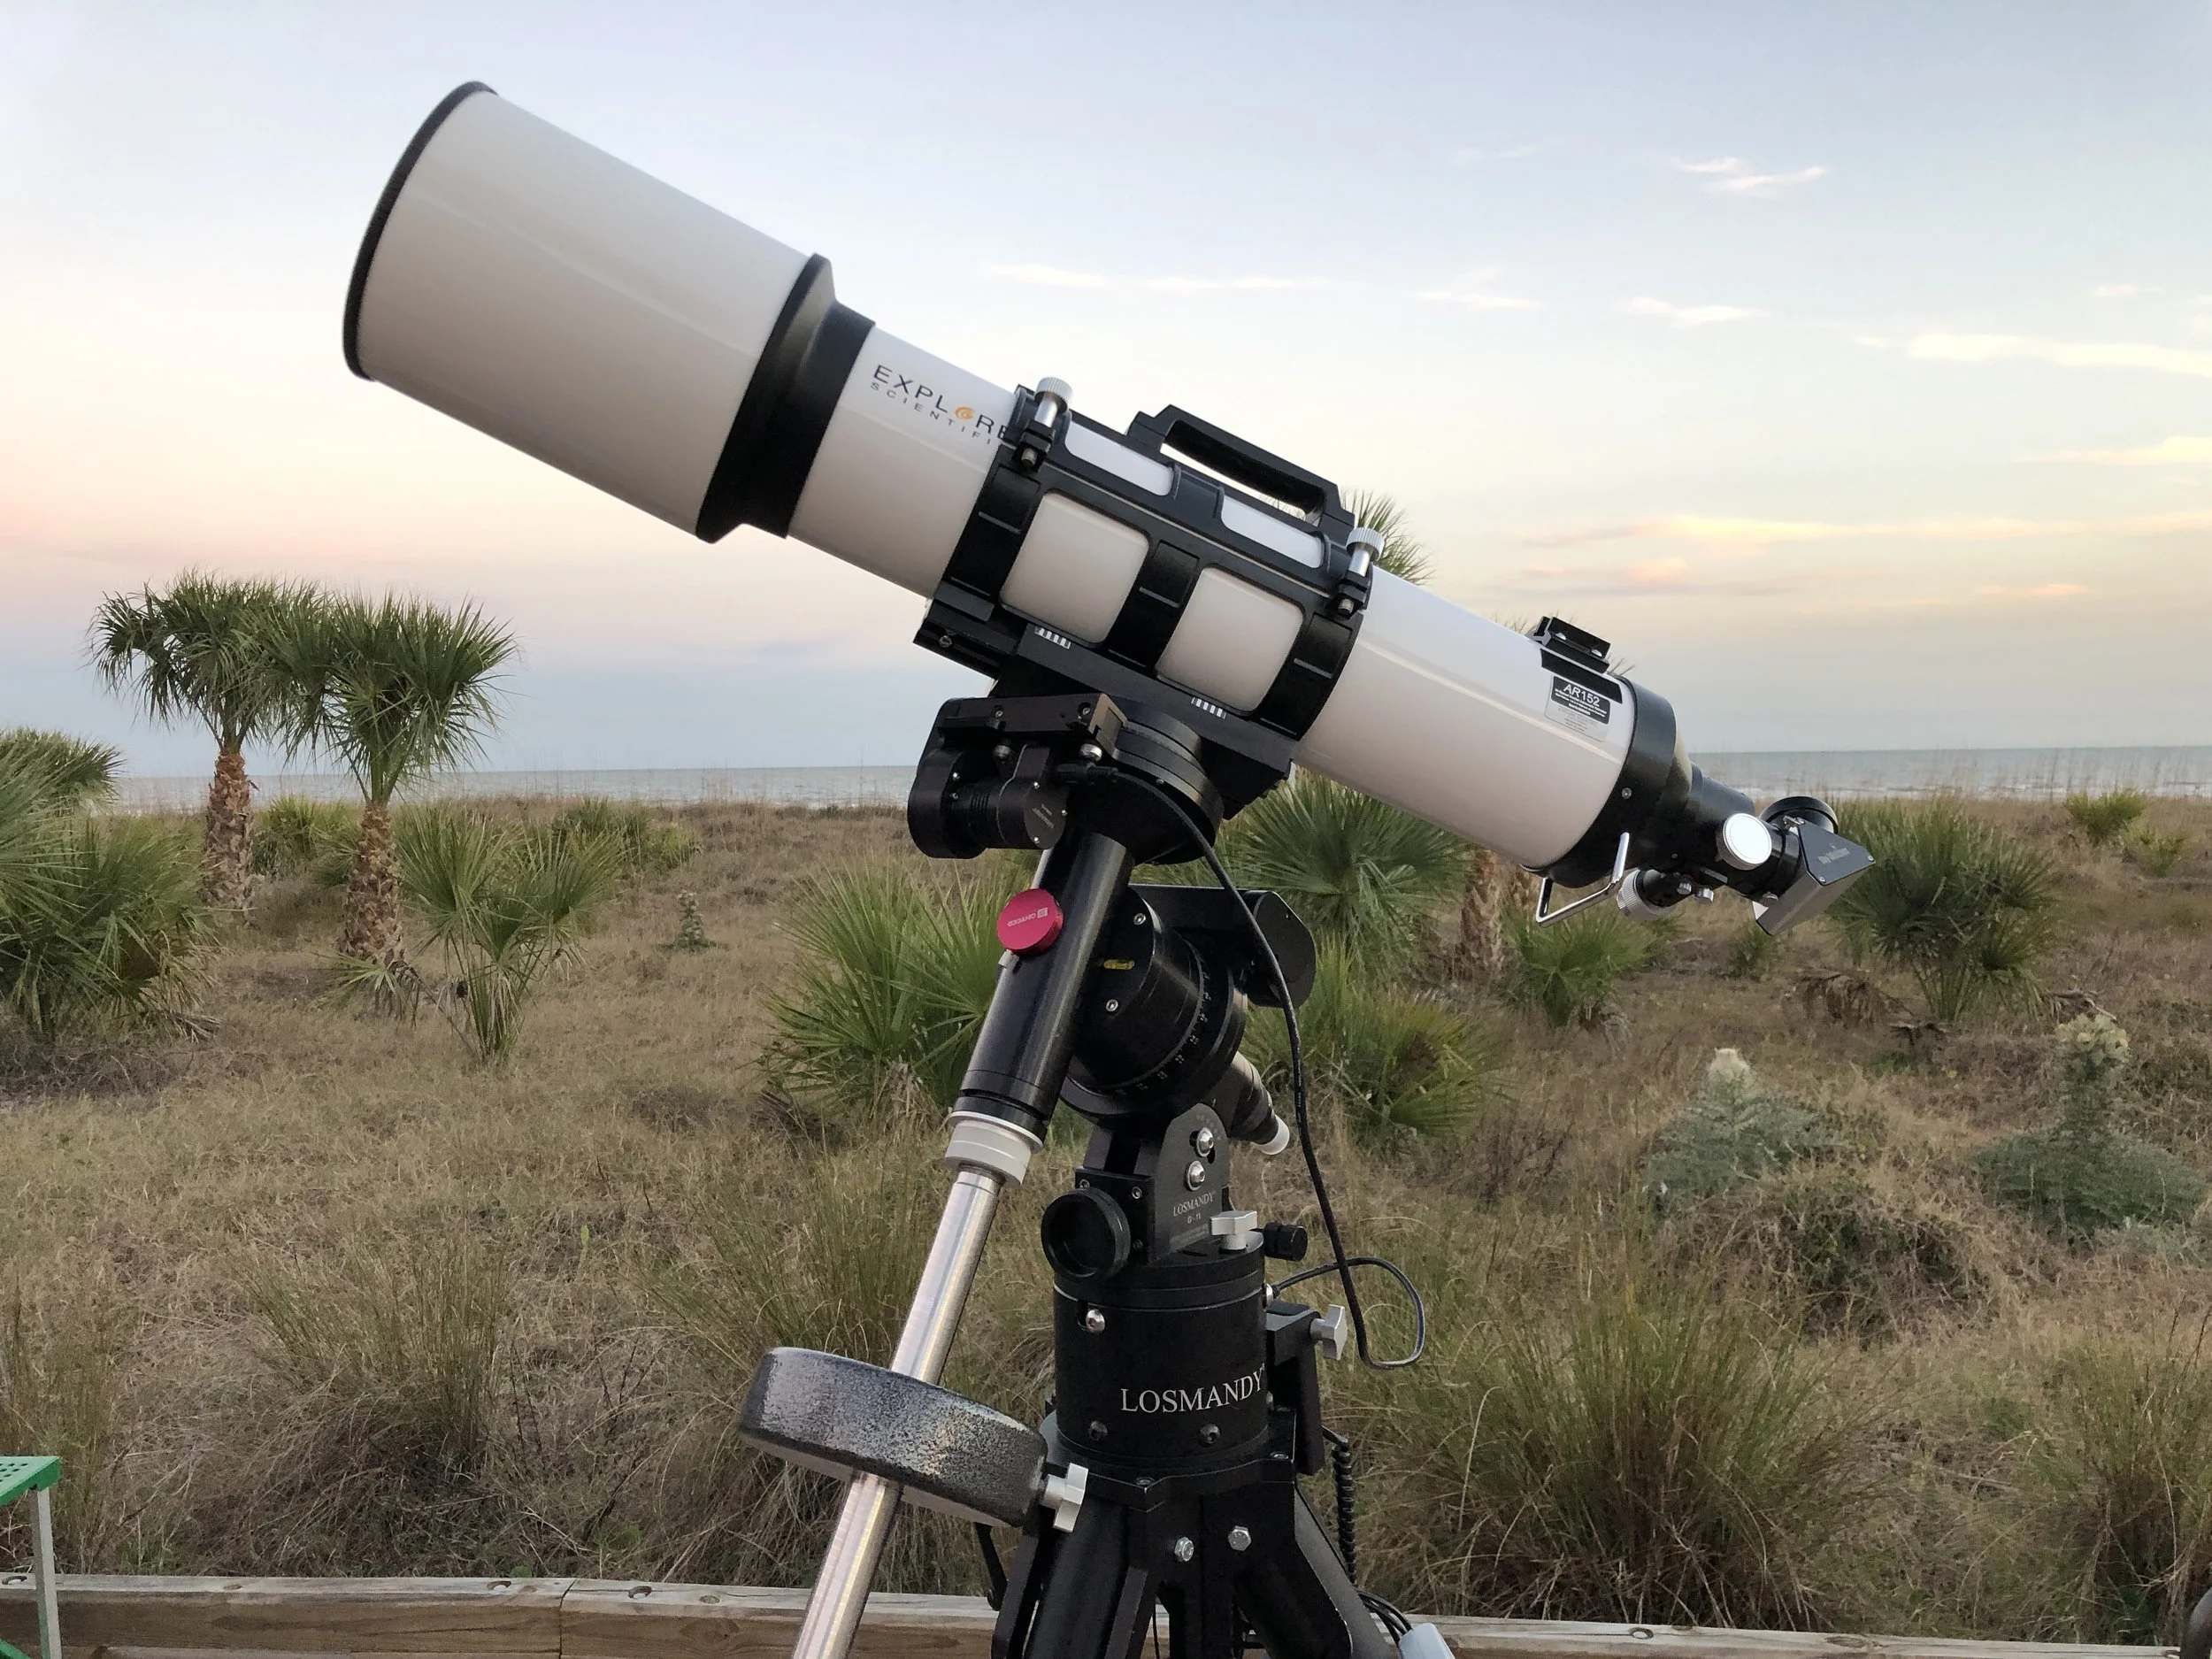
I’ve known about the different types of telescope designs but recently have come to appreciate the difference in how things actually look in the various types of scope designs. I’ve really been re-impressed with how amazingly crisp the image you get from a good refractor is from the photos I take with the scope in the above pic (4-inch Triplet) so when the opportunity came up to buy a 6-inch refractor for $800 I jumped at it. I had been using my 10-inch photography scope at stargazes when the Obsession was the wrong scope to bring; the full moon through an 18-inch might start a fire or something!
Problem was though that it’s a long focal length telescope and the only way to have my eyepieces reach focus was to use a barlow 2x lens in front of the 90° diagonal. This jacked up the power so much you couldn’t even get the full moon in the scope without a super low power, wide field eyepiece and some of the stuff you want to see is much bigger than even that! And it’s heavy…
So I bought this 6-inch “doublet” refractor (the Explore Scientific AR-152) to give some great crisp wide field views but since it’s got a reasonably long focal length you can still get up to 200x without asking too much of it. And it weighs 1/3 less than the 10-inch. I’ve had this a month at this writing and I’m loving it with the TeleVue eyepieces I have, especially star clusters.
Out With the Old…
Late last year I took a look at all the “Astro Crap” I had accumulated and decided a huge ‘shed sale’ was in order. Thank God for the Cloudy Nights web site which is a real good locus for people who do astronomy, astrophotography and related endeavors.
So I went through everything, decided on a price and put it all in Cloudy Nights Classifieds, prided to move!
I’d had some of this stuff since the 1990s and some of it was recent–simply outgrown as my setup keeps evolving. Well about a month later all of it was gone and I had $1200; what to do but buy something cool with it?
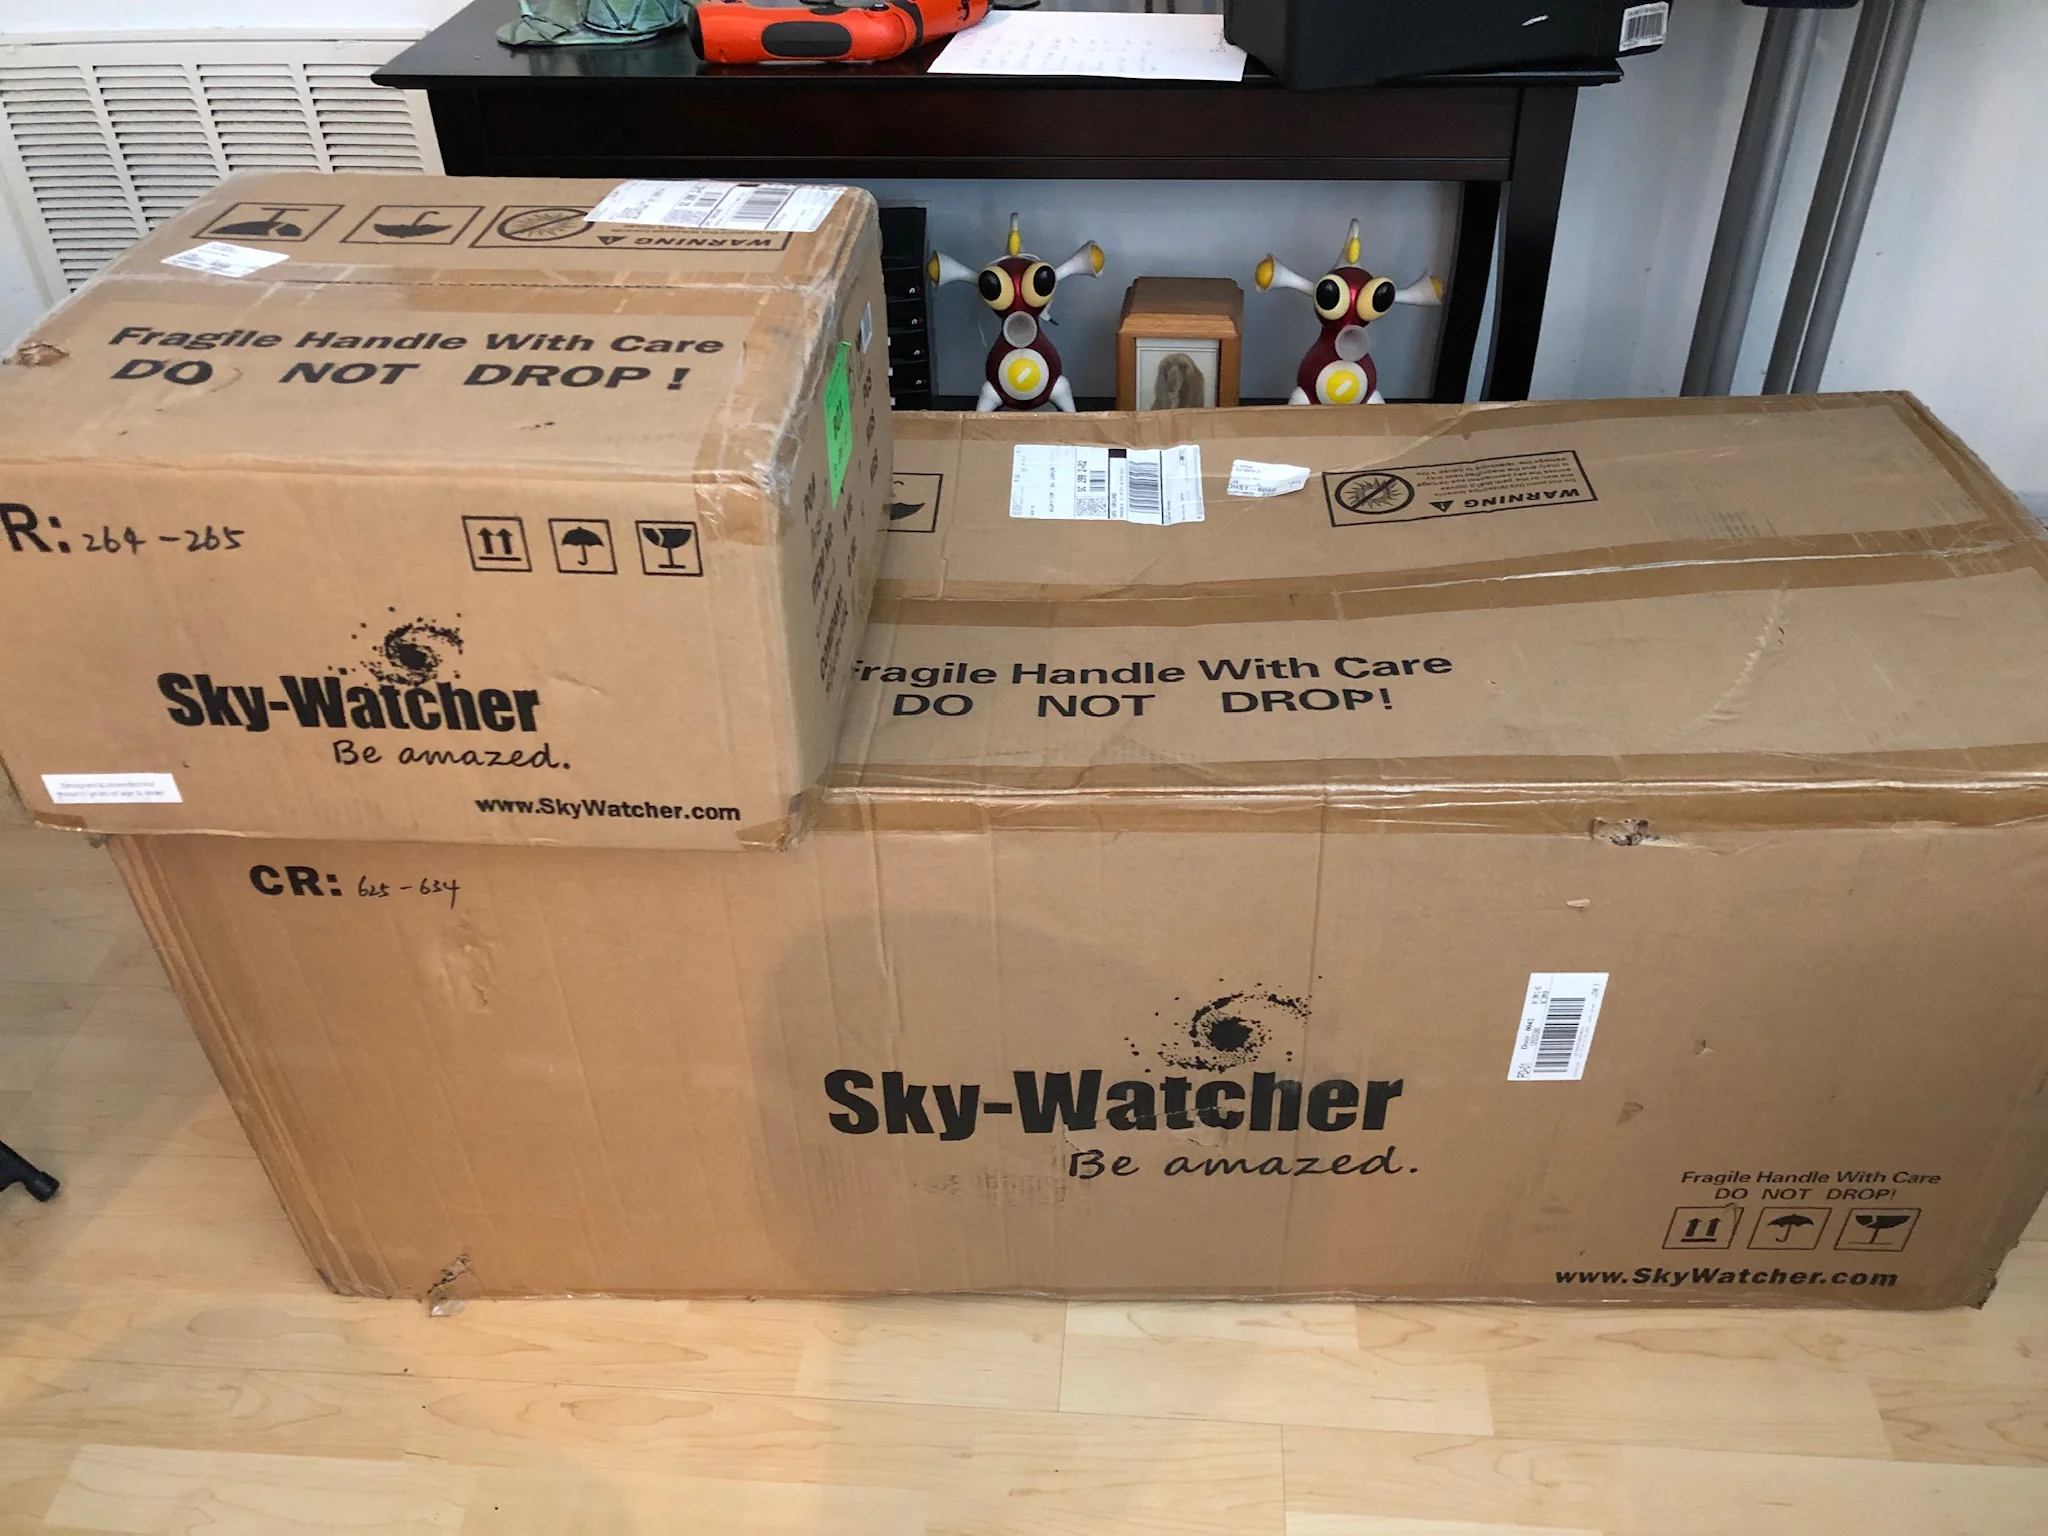
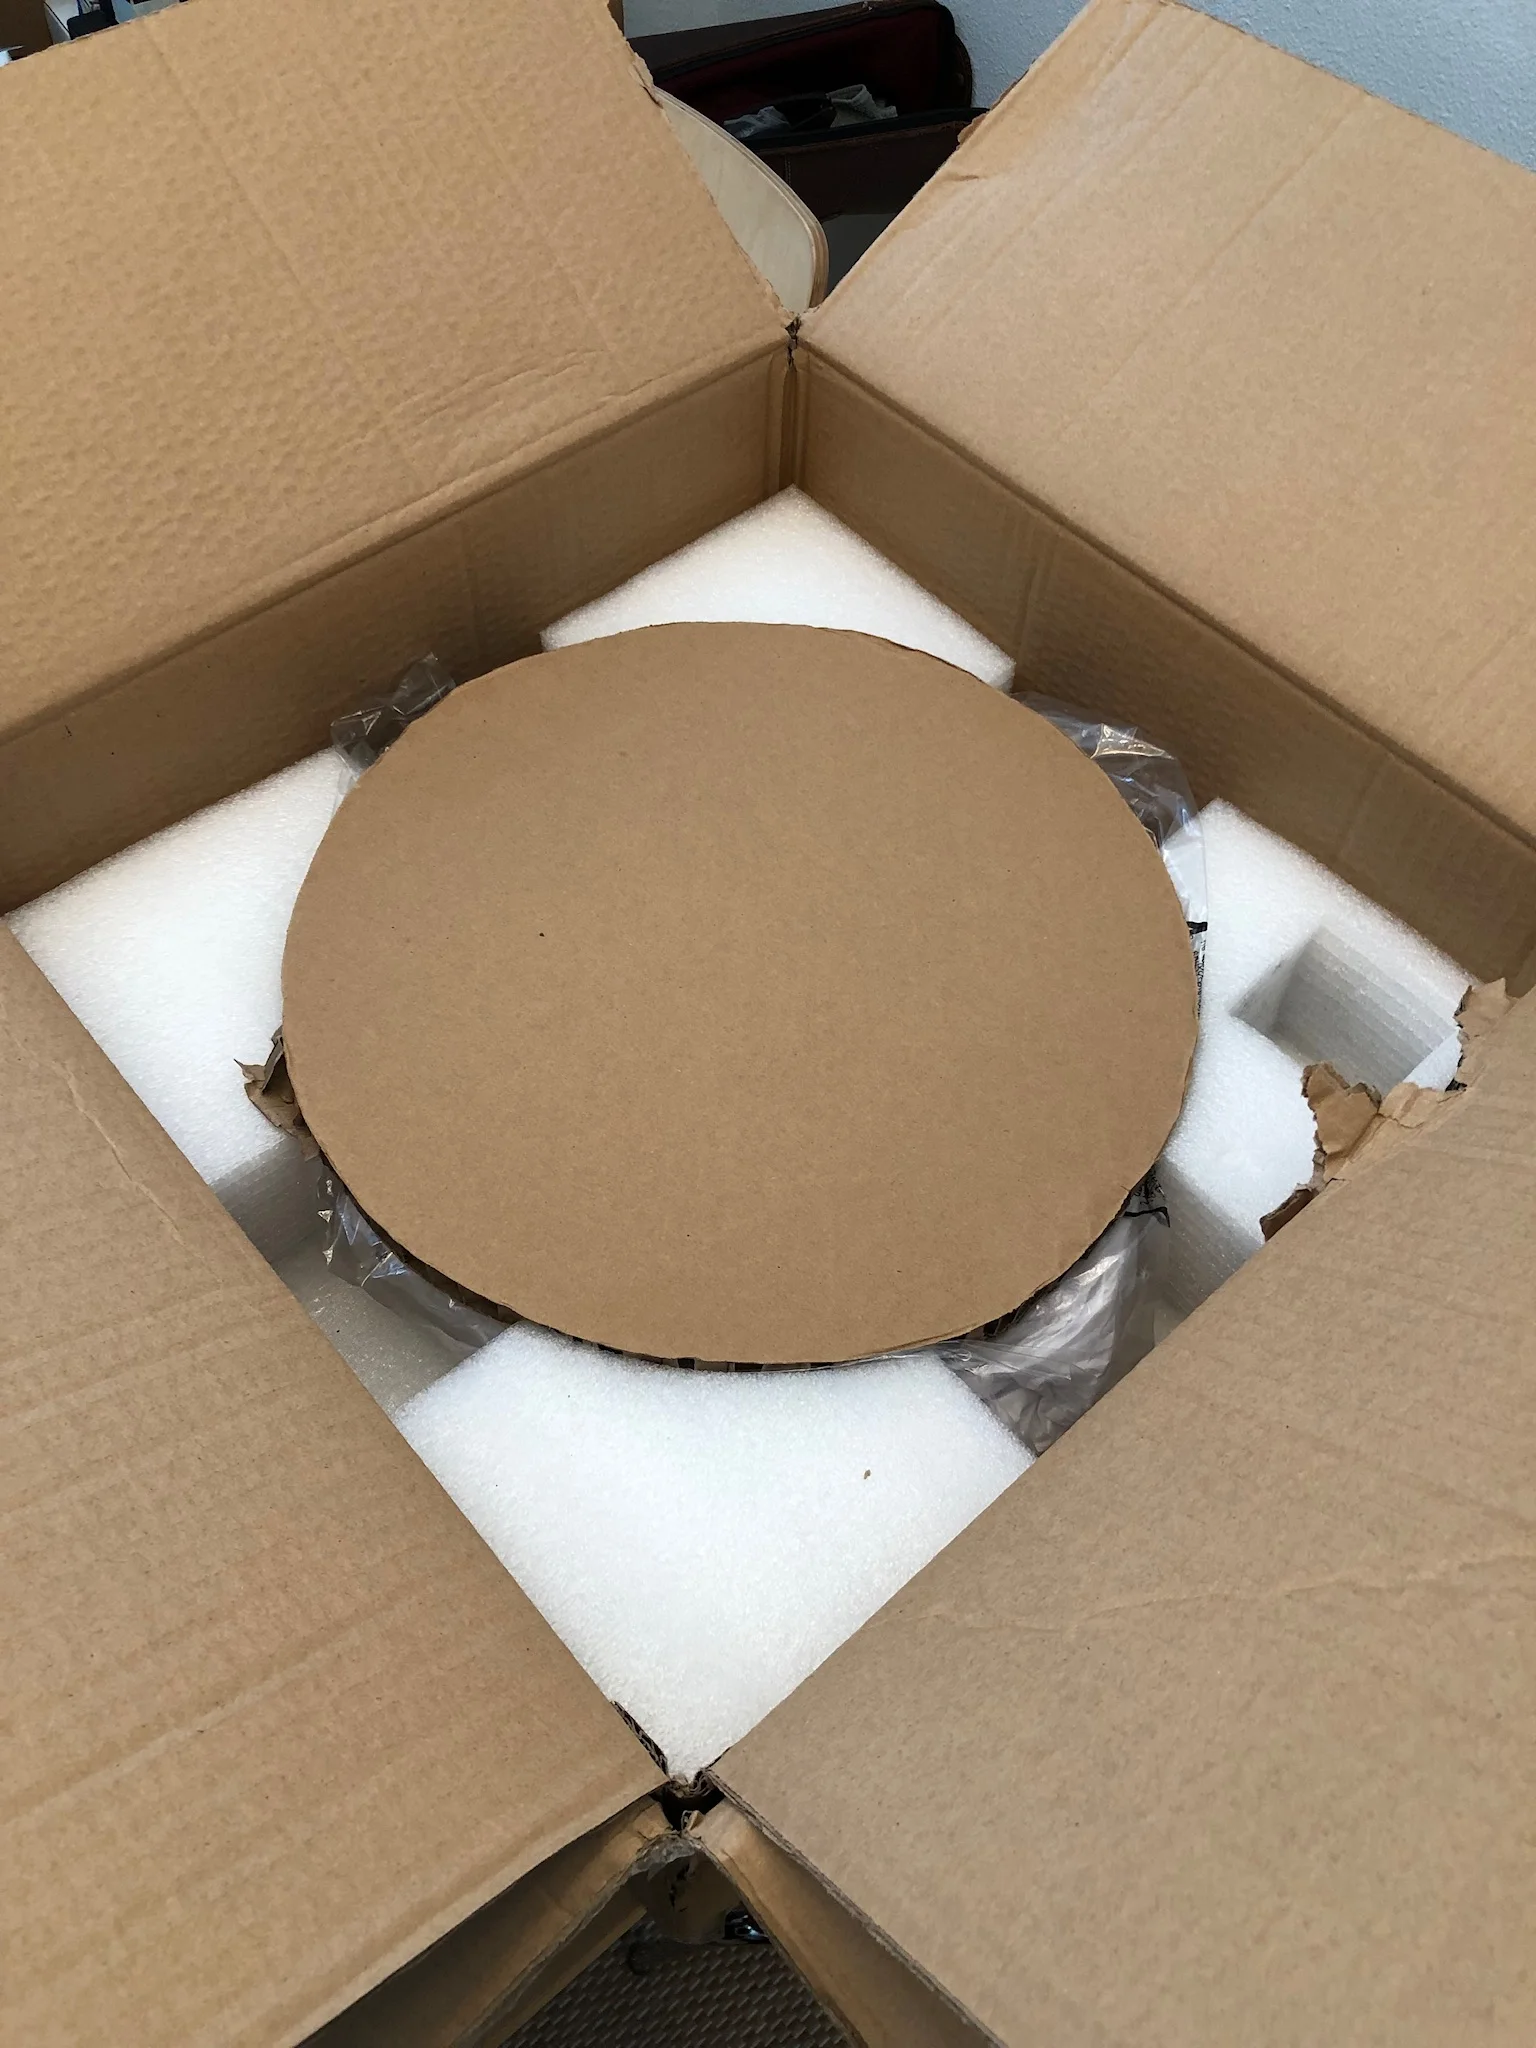
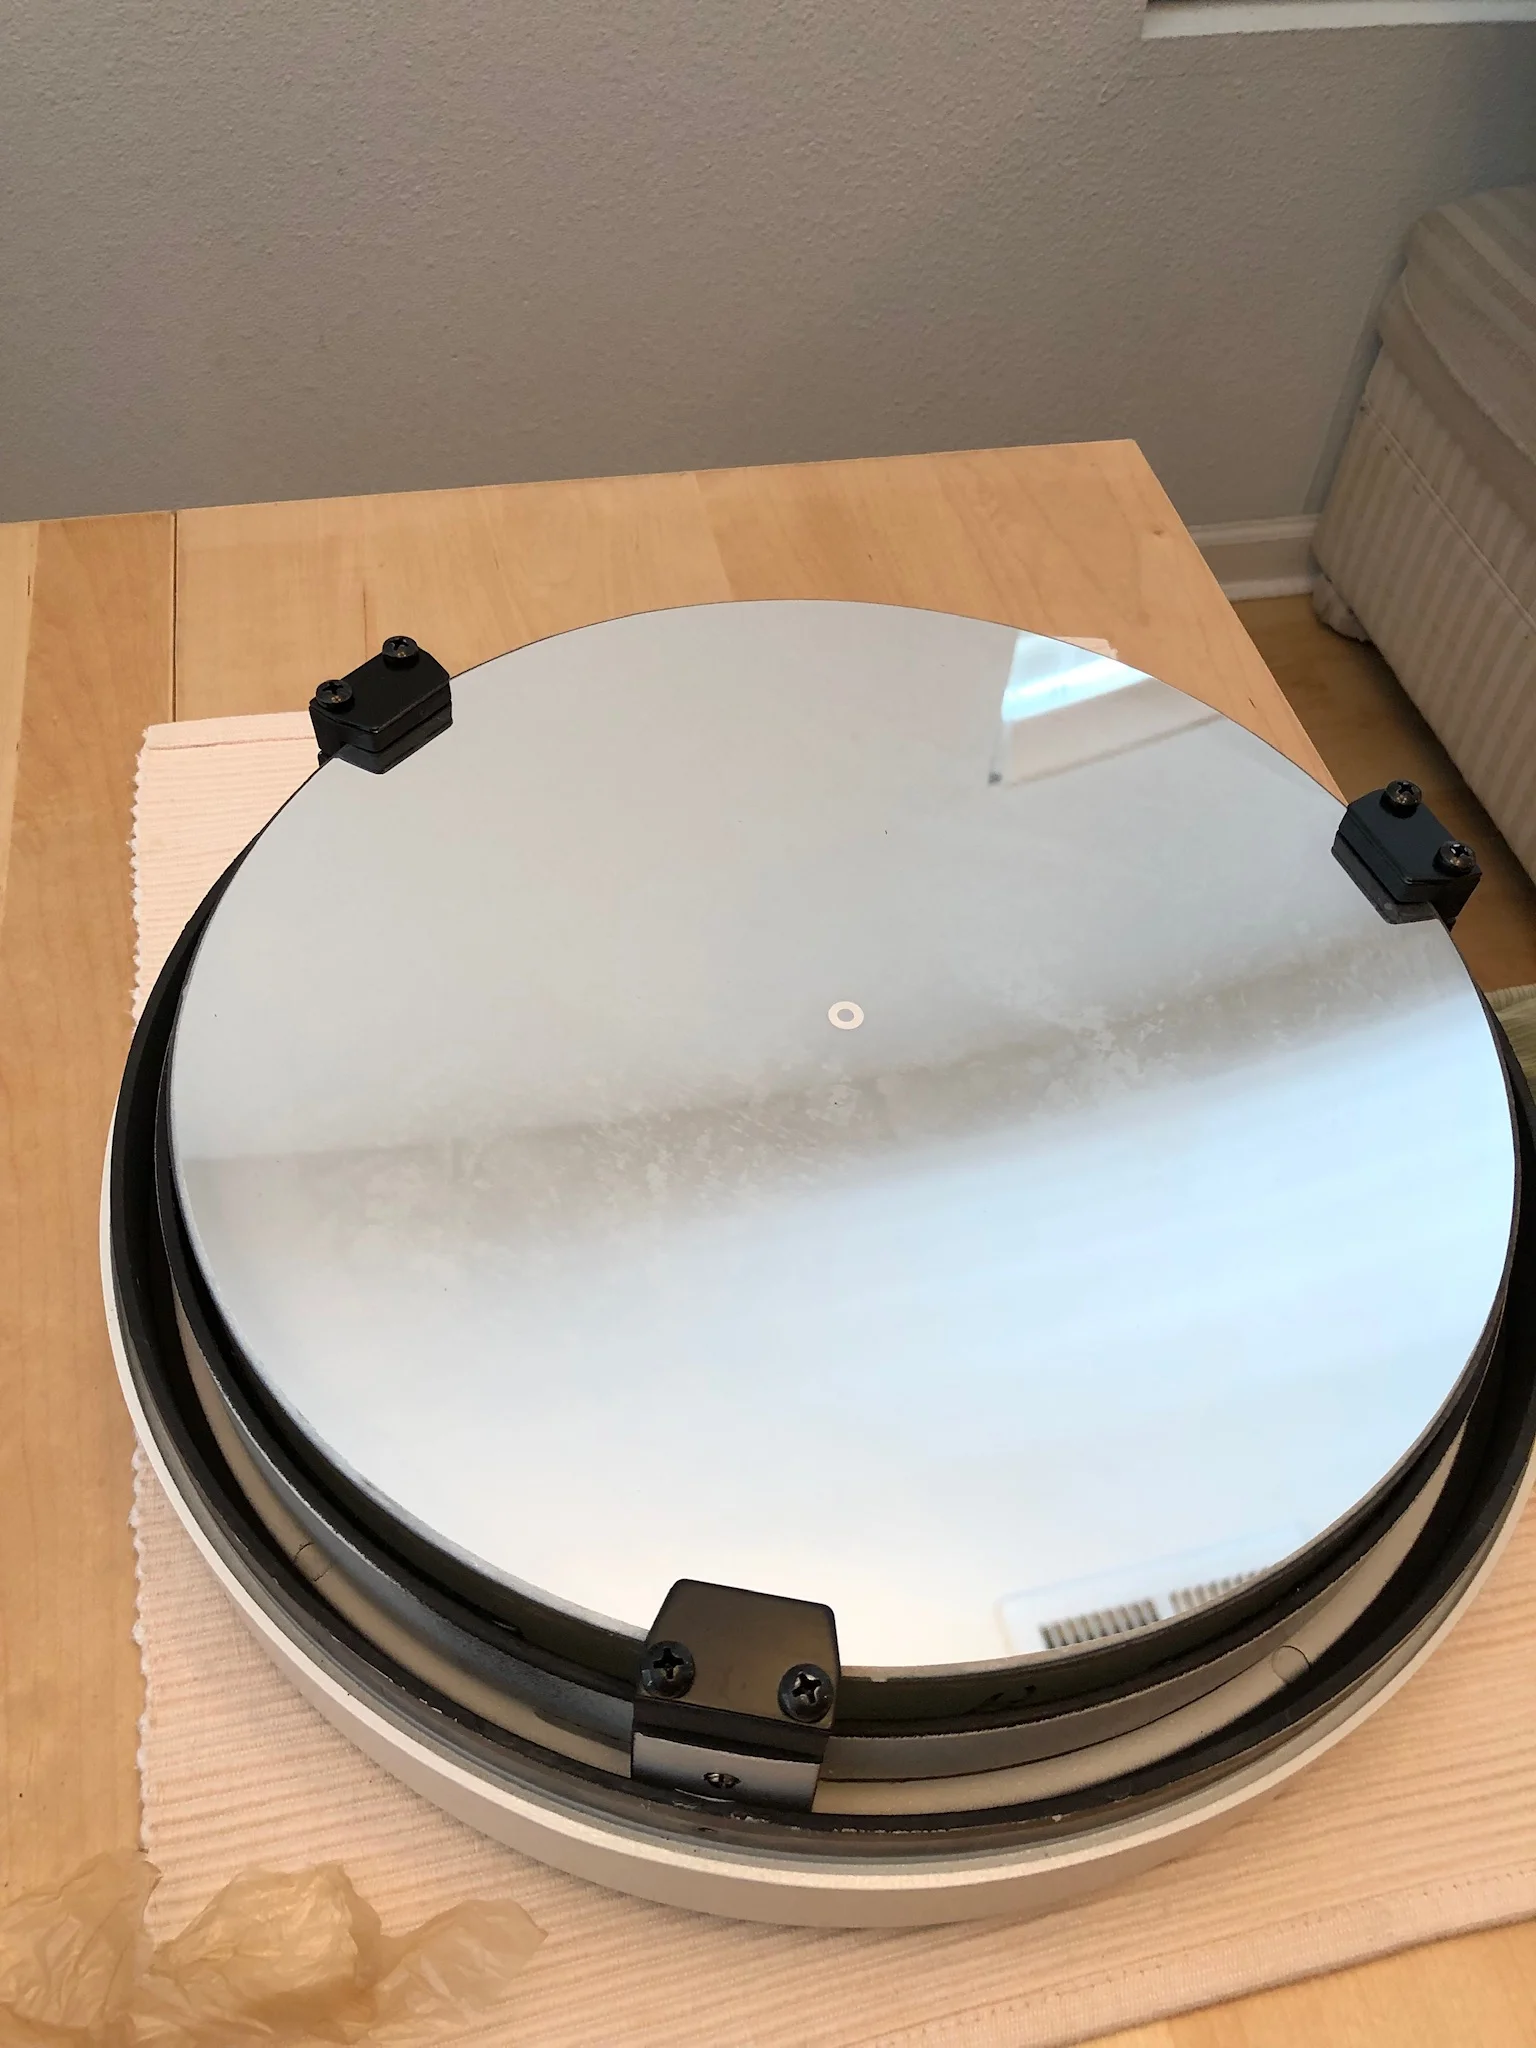
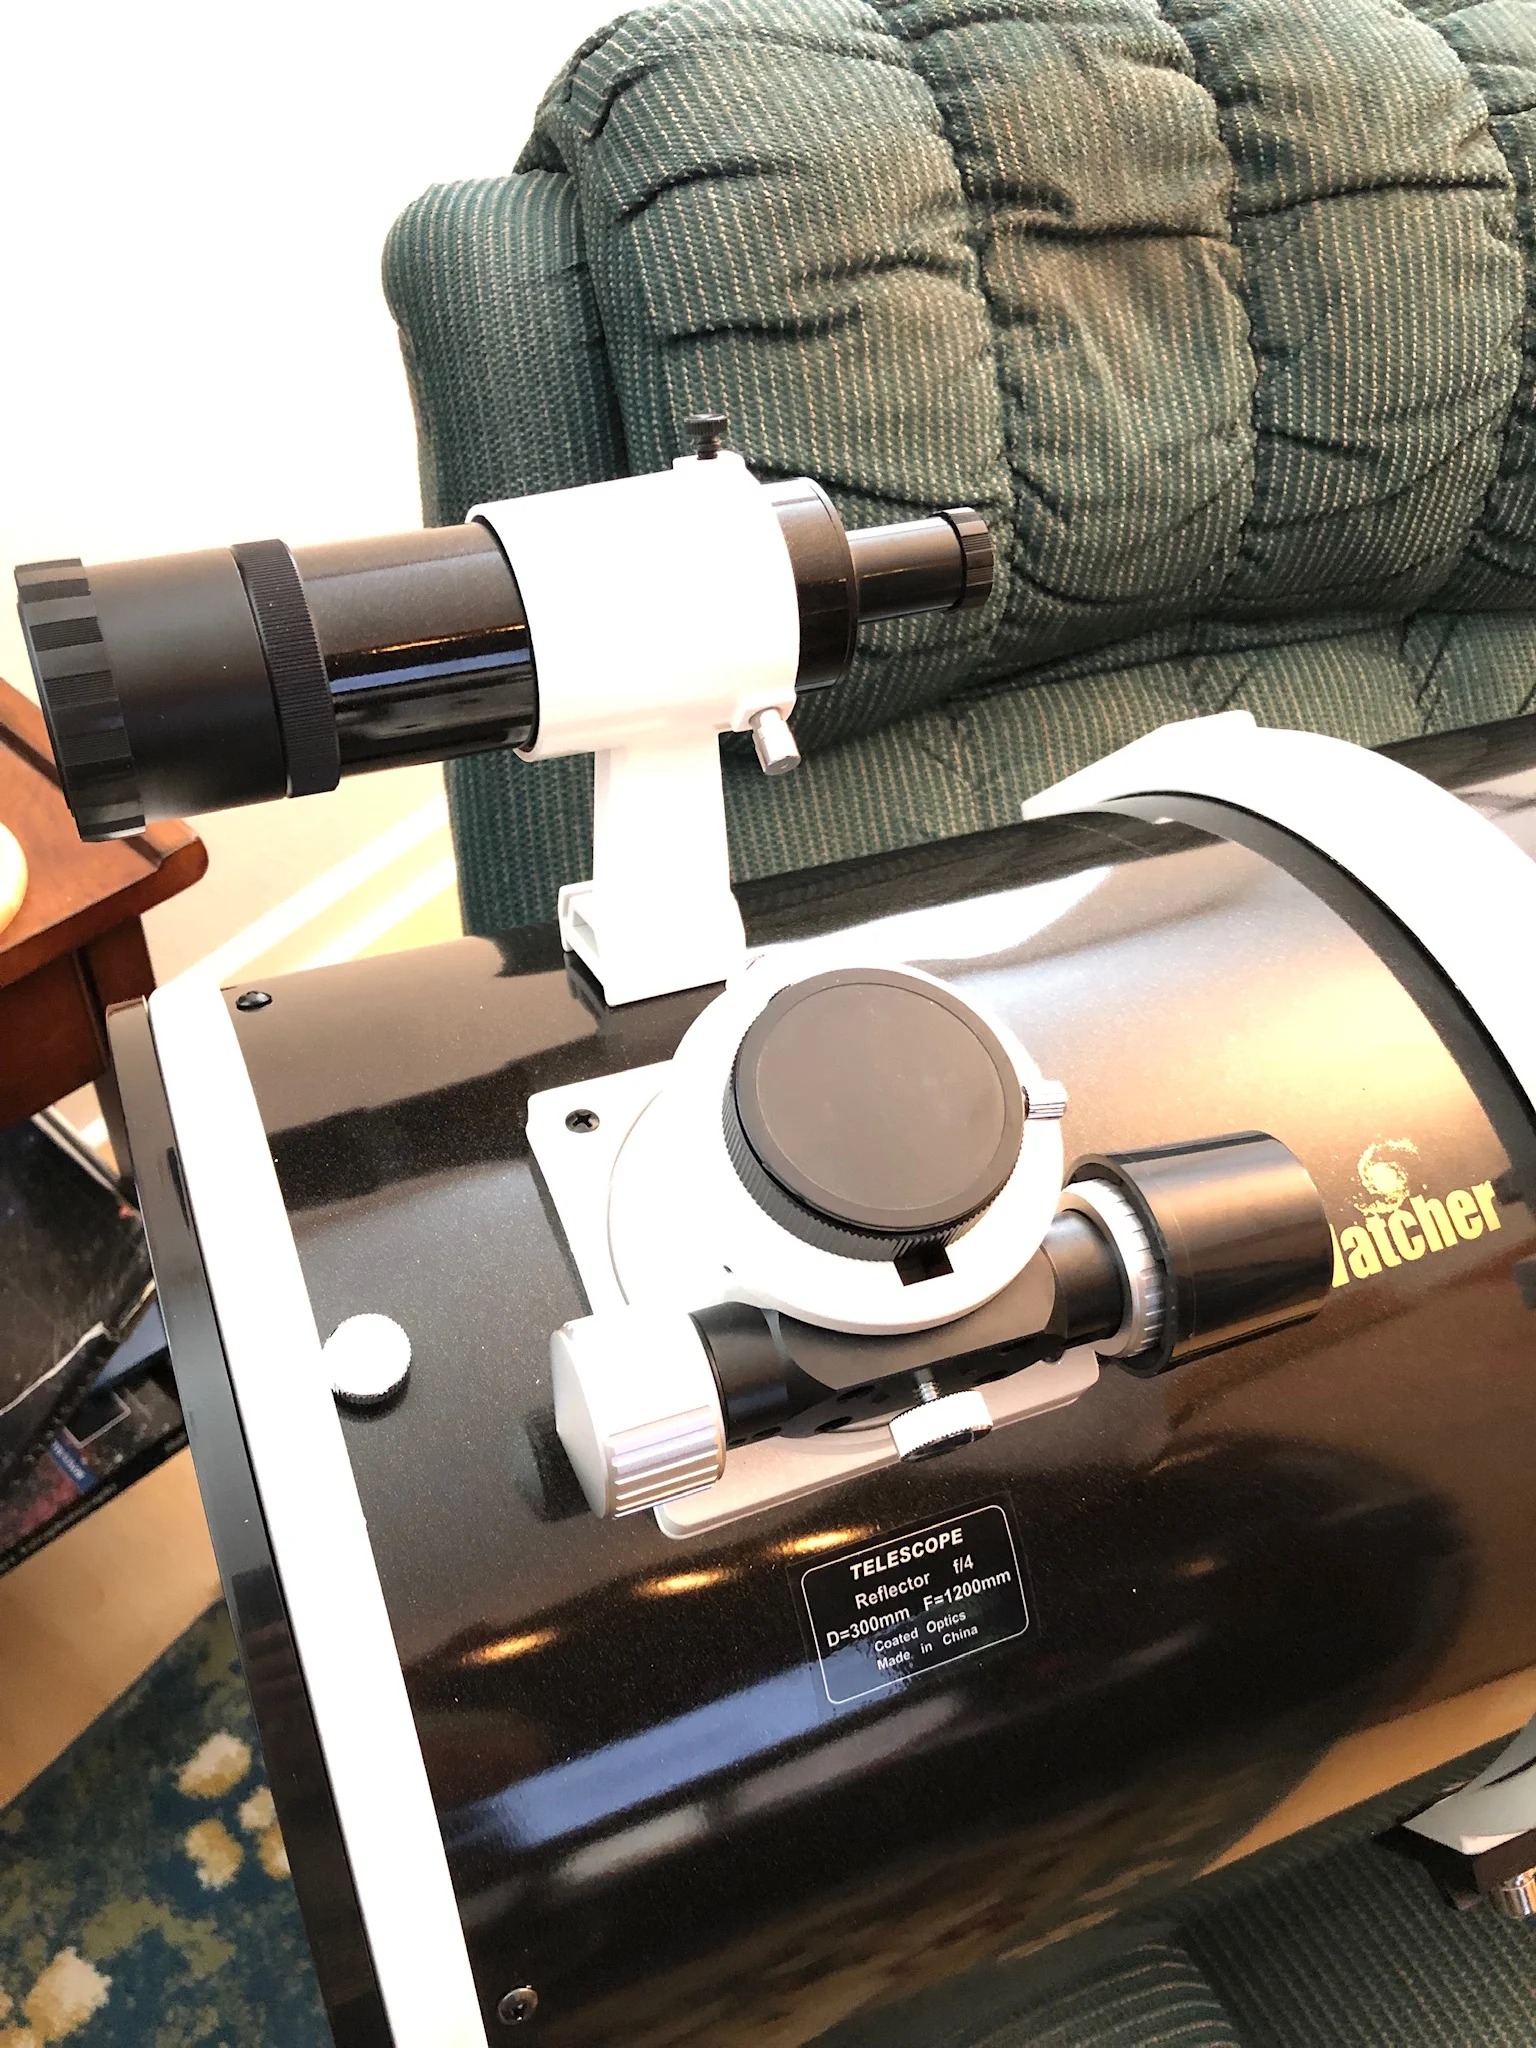
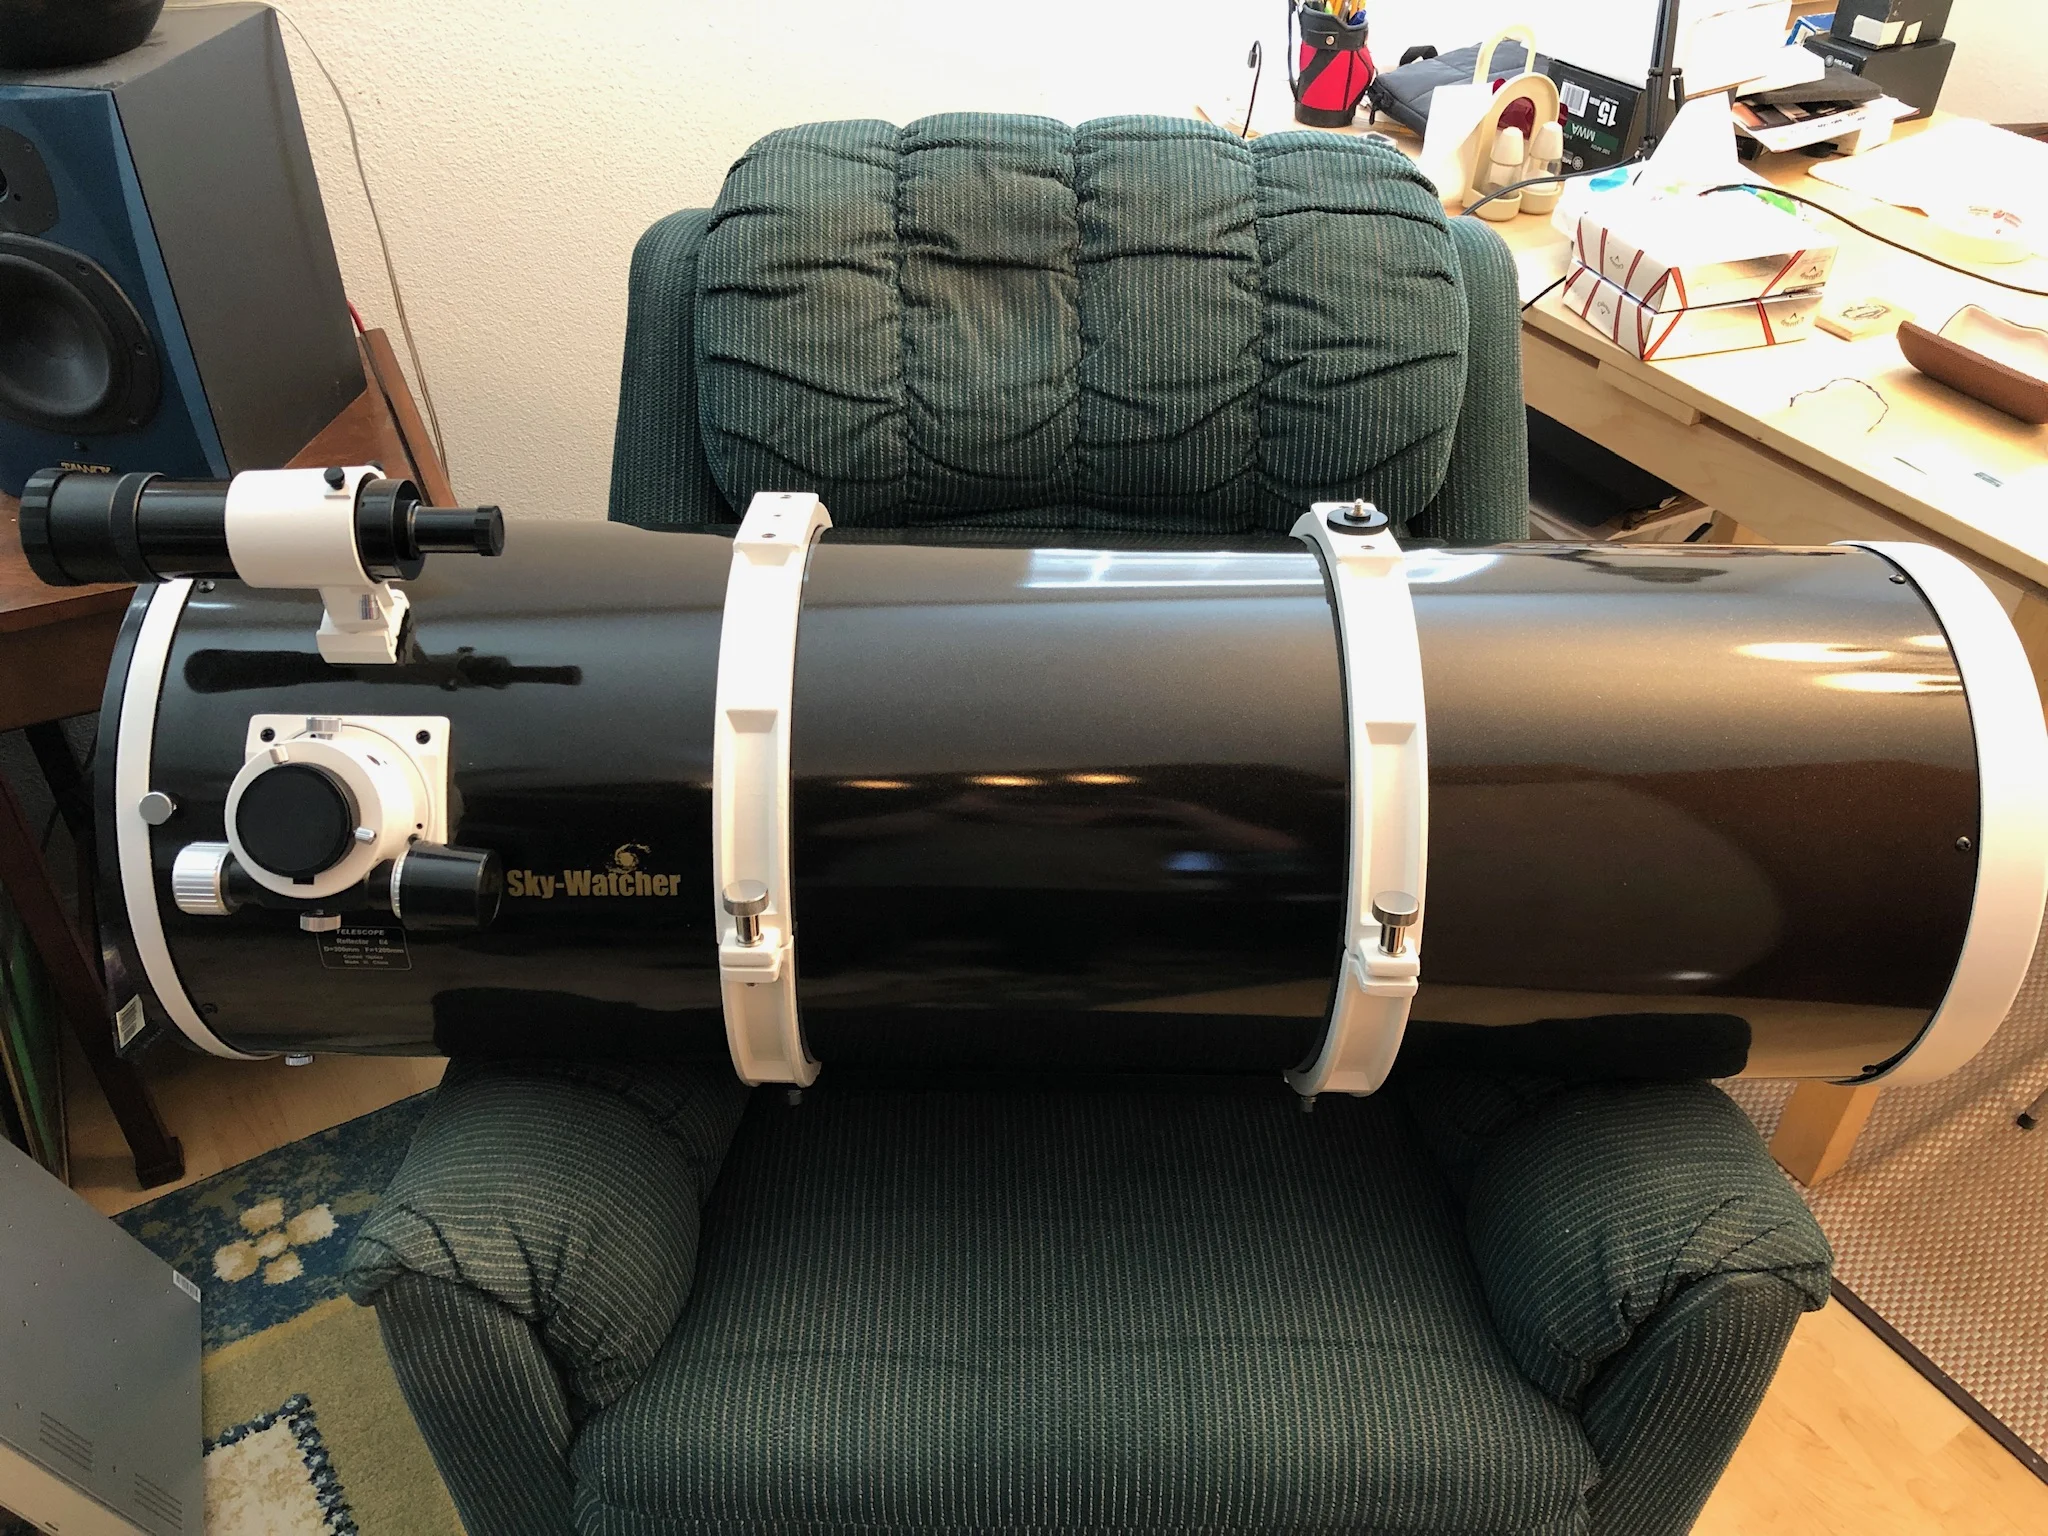
Since it seems that my current photographic mode is to take a whole bunch of short exposure photos since that doesn’t give the mount much time to make an error, in order to take deep images you need to gather as much light as possible. So I bought a 12-inch Imaging (fast) Newtonian, from SkyWatcher. I already had the coma correction lens you use to make a scope like this not have oval looking stars at the edges.
It’s at the very upper limit of what my Losmandy G-11 mount can handle (57 pounds and the limit is 60!) but I thought I’d give it a try since the G-11 is a real beast and if you carefully balance everything it won’t be working too hard.
In order to do that I had to buy another 21lb counterweight for balance at $5/lb but hey, I wouldn’t want to be unbalanced (any more than I am already) would I???
“First Light” with this scope was really more about just seeing if I could lift it onto the mount safely since it’s kind of a 3 handed affair to get the bar into the slot on the mount, hold the scope steady and tighten. I figured that if I got the bar with the scope’s capture rings on the mount without the scope in it it would be a relatively easy thing to plop the heavy scope into the rings and then close them to hold the scope. This turned out to be a winner. Getting the scope down was an issue as well since at the end of an observing run the metal tube is going to be covered with dew and very slippery. Fortunately there is no finesse required to loosen the mount clamps and snatch the entire scope & rings off and plop it into the box.
It also took me awhile to figure out the right combination of adaptor rings, tubes etc. to get the whole coma corrector/camera/off-axis guider assembly to properly mate with the scope. After having it for almost 4 months I finally got out for some imaging with it in late march and here’s the first image I’ve taken with it:
M104, the Sombrero Galaxy. 28 million light years away, in the constellation of Virgo.
I think this image is decent enough but I really had trouble finding a suitable guide star and the whole auto guiding part of the equation couldn’t work. So it was back to 15 second images which is fine, but not part of the plan for the evening. It always seems like no matter how much effort you put into planning one of these sessions there’s something that has you scrambling in some way; guess it’ll happen less as I get more experience.
One Last Thing
HoTech Laser Collimation Tool
In an effort to get the absolute best performance out of the 10-inch Ritchey-Chretien Astrograph scope I finally found a reasonably priced laser collimation tool from HoTech that makes absolutely sure everything is square in the many mirror bounces you have in this design.
I set up the laser tool and scope in my storage unit and began what became a two hour process of thoroughly understanding and carefully following each step in the procedure which includes completely removing the secondary mirror.
Well having to figure out how to do that without losing track of everything and keeping track of how to put it back right, with precision took some time but in the end the procedure went smoothly and I’m now anxious to do some imaging with it and see if the stars are nice and round all the way to the edge of the frame. If we could just get a nice line-up of good weather, day off, and no Moon in the sky!
Bill
April 8th, 2019
